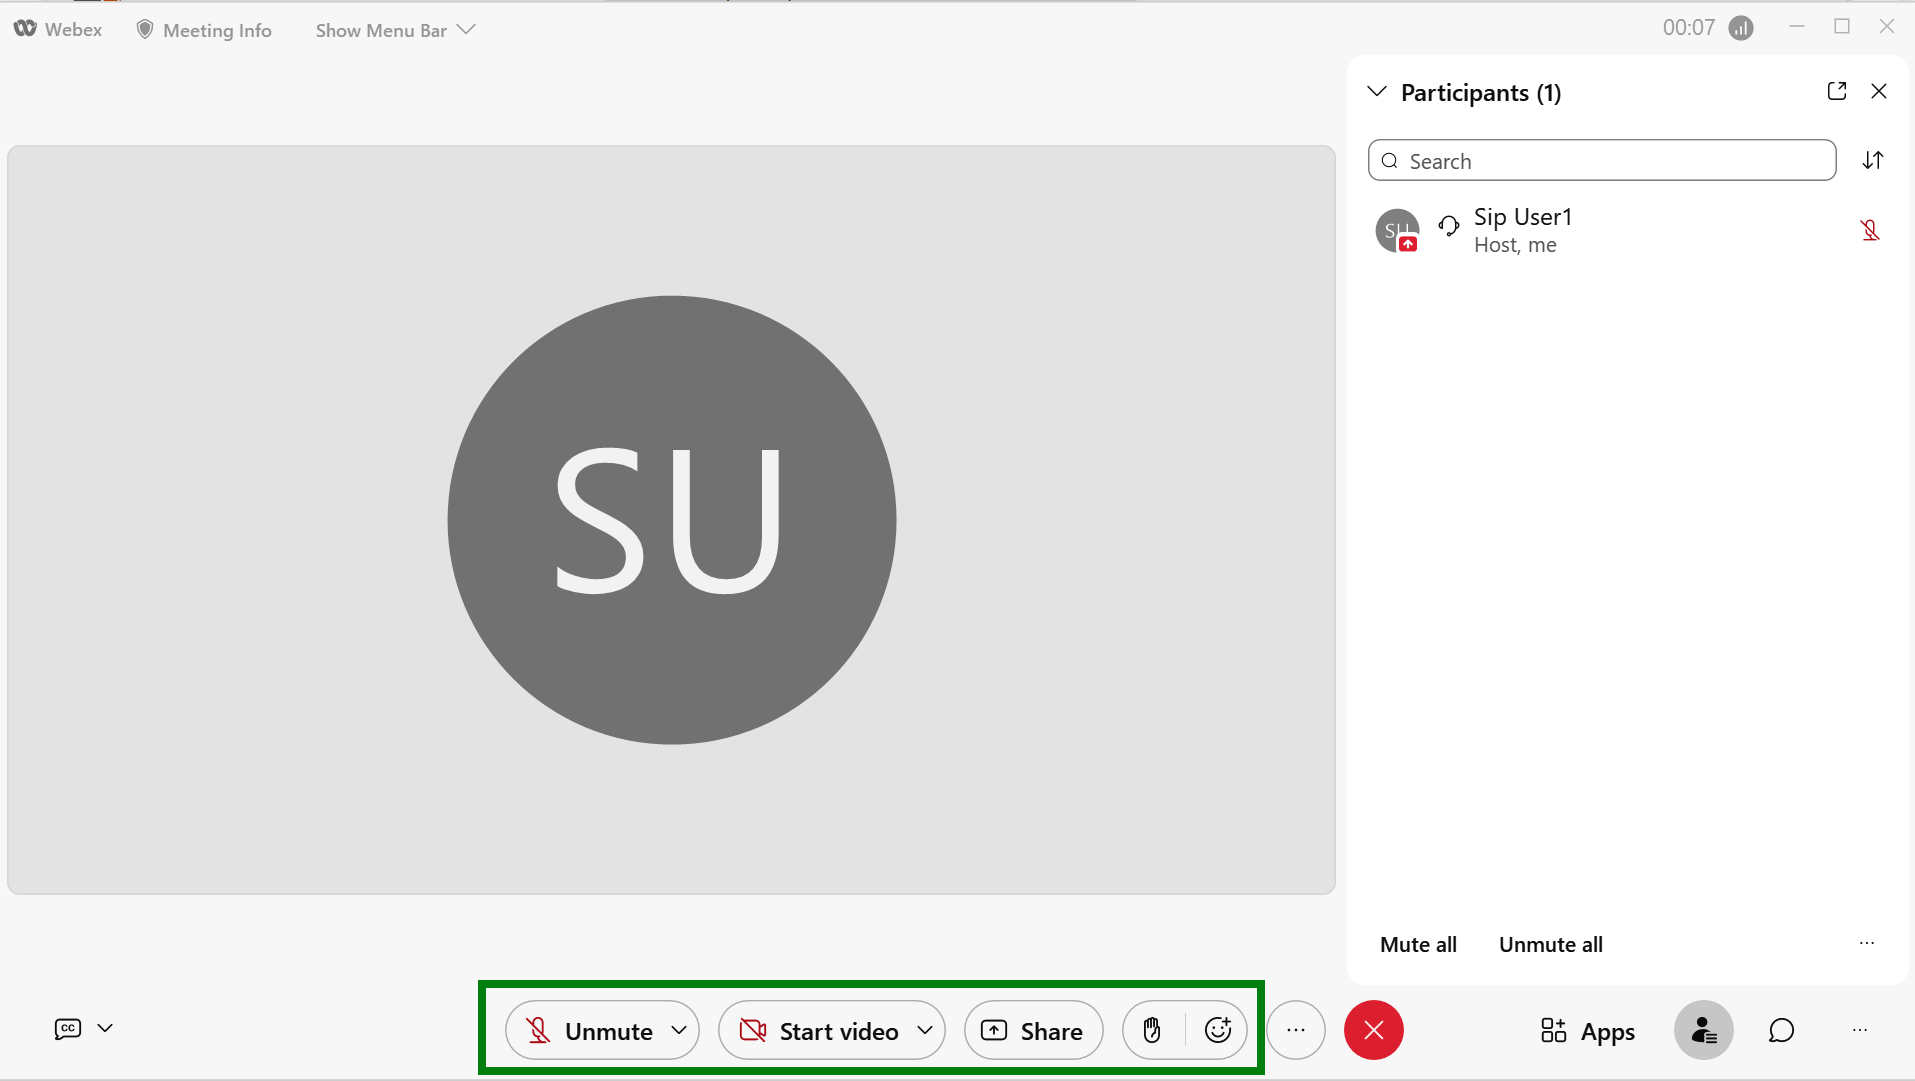
With Webex there are 2 options for storing meeting recordings. If you want your recordings to be stored securely in the cloud, please assign the Premium Webex package to your users and the recordings are stored in the customers Webex site.
If you want to record the meeting and store the files locally on the user's computer, you can do this with either the Standard or Premium Webex package.
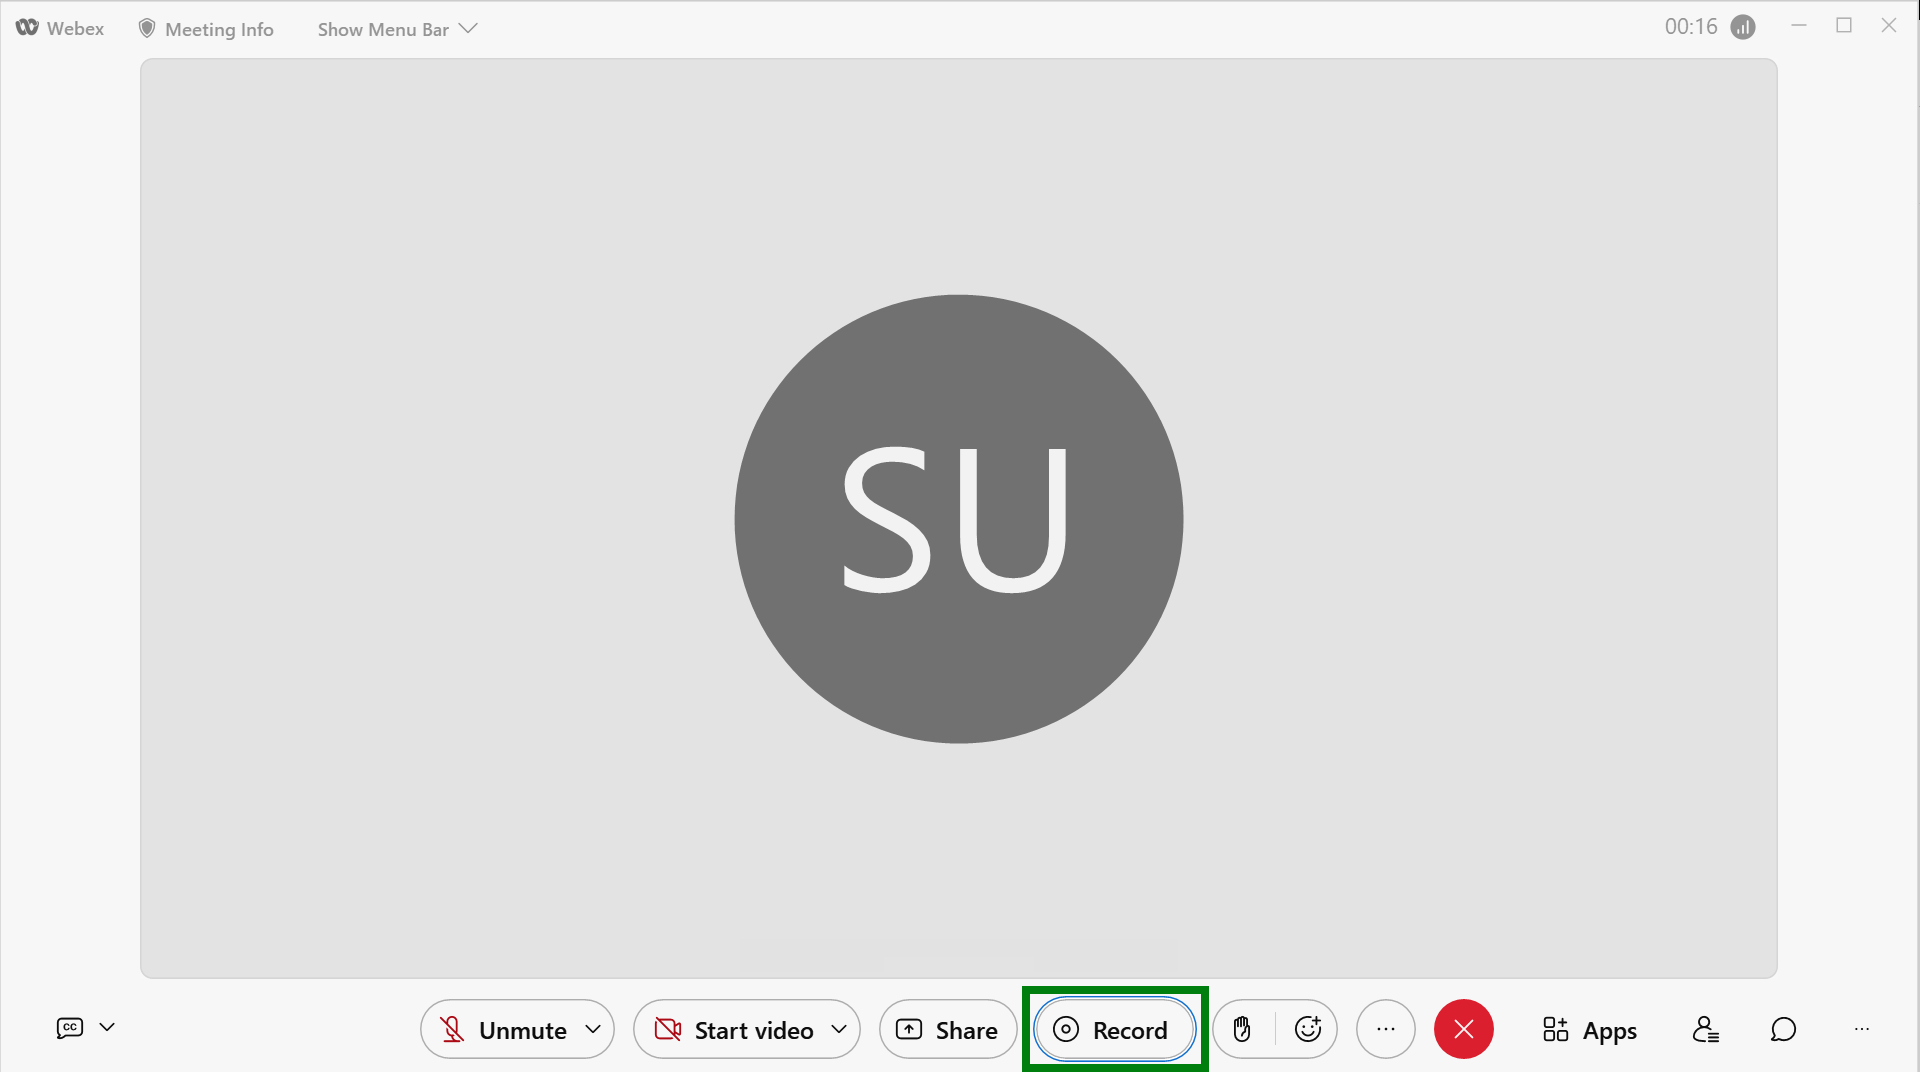
However, in some scenarios this may not comply with a customers privacy and security policies. This can be disabled following the steps below.
Step One
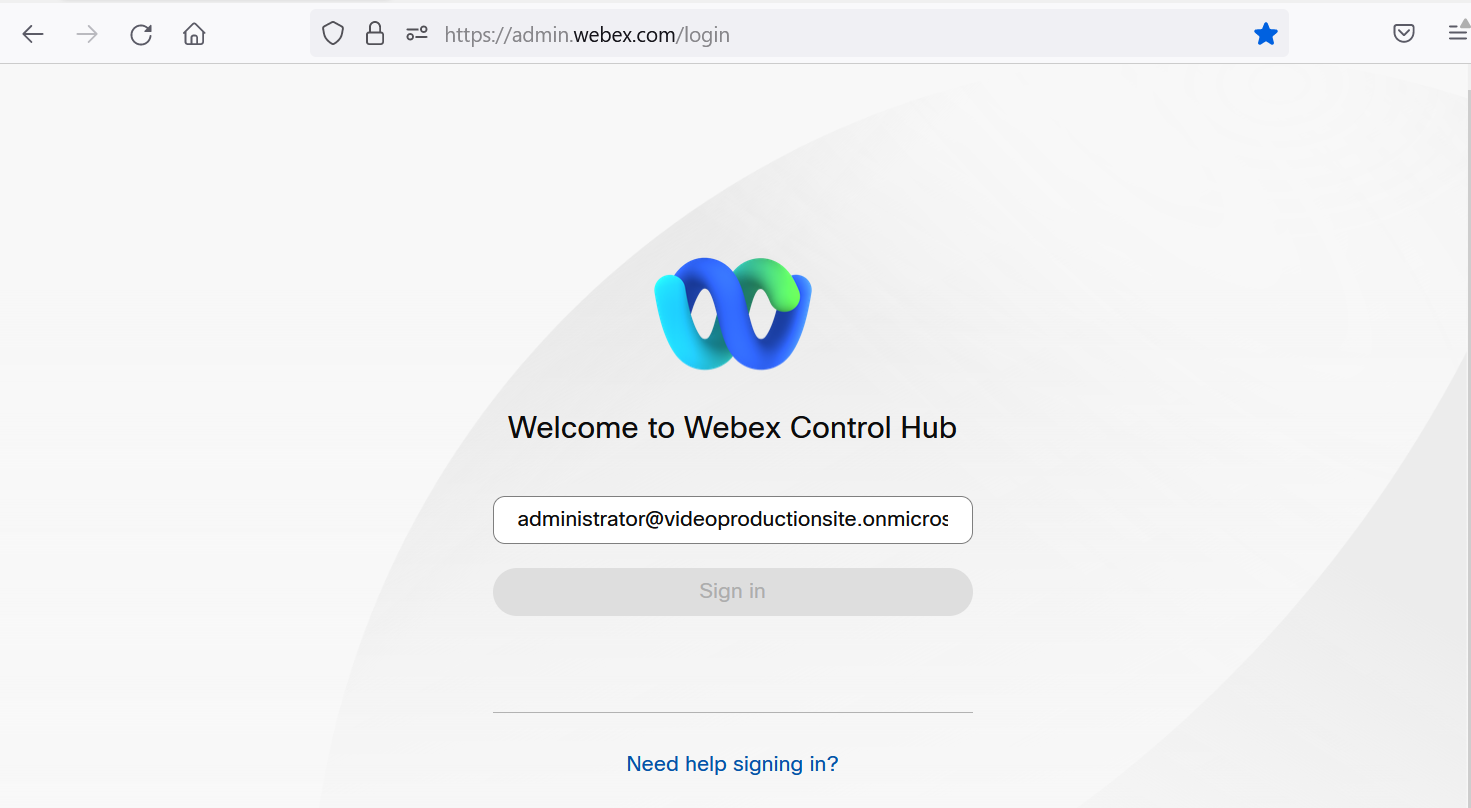
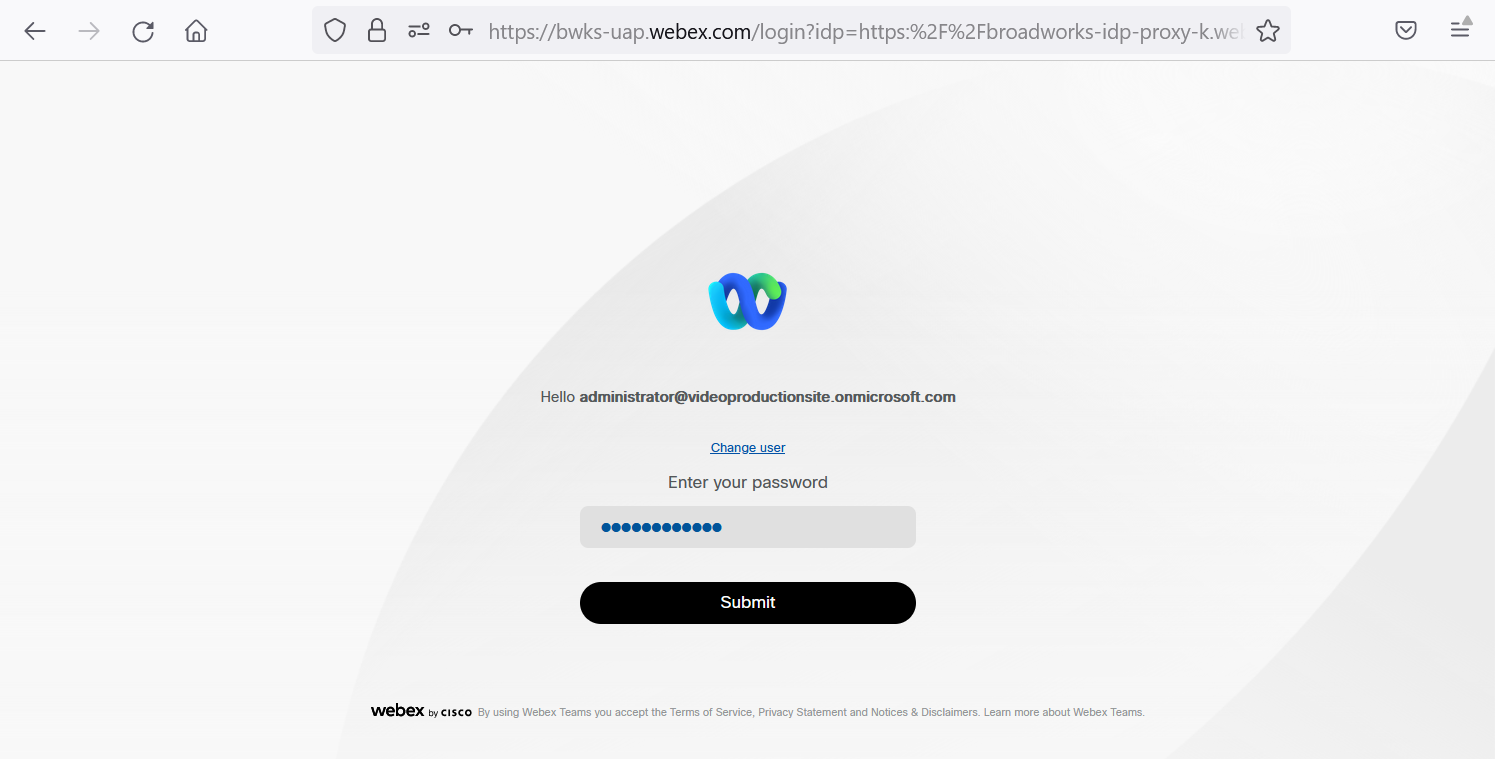
Your Webex business admin user needs to login to https://admin.webex.com and enter their Webex login credentials(same as the Webex app)
Step Two
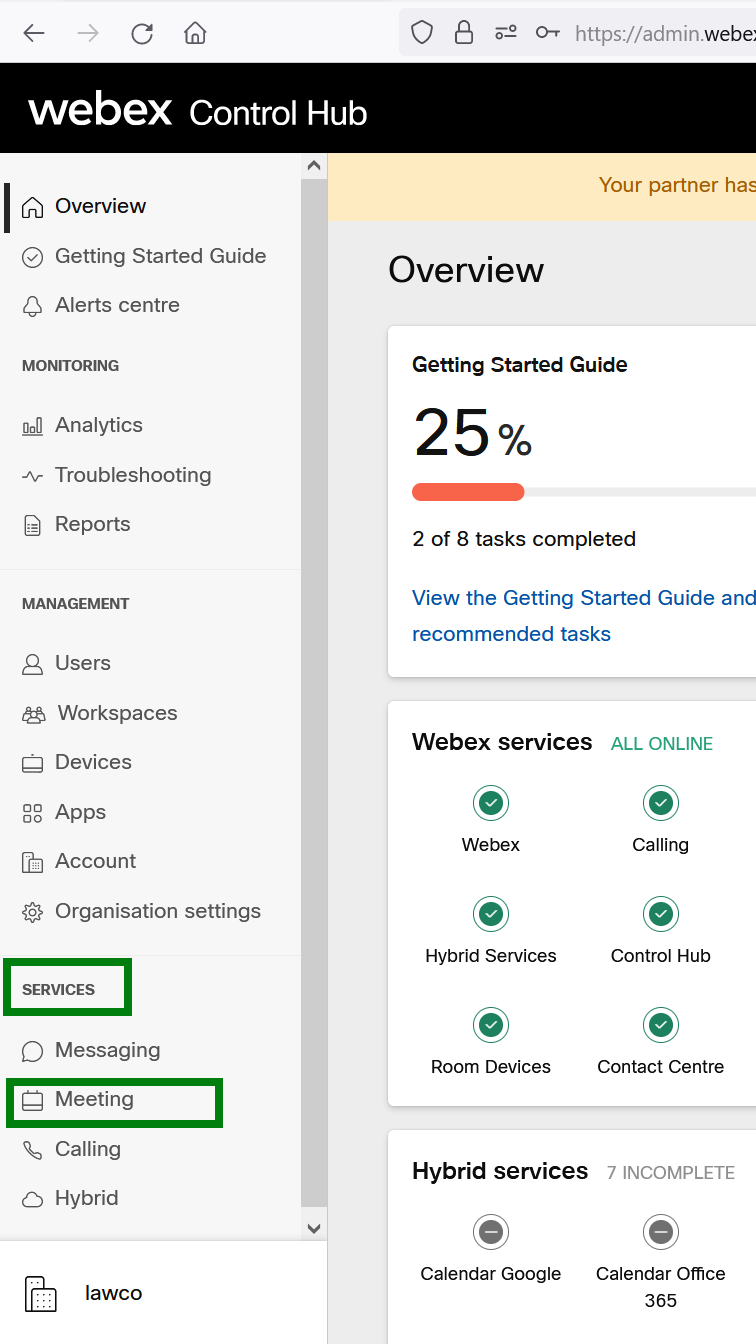
On the left hand menu, under the "Services" heading click on the "Meeting" menu
Step Three
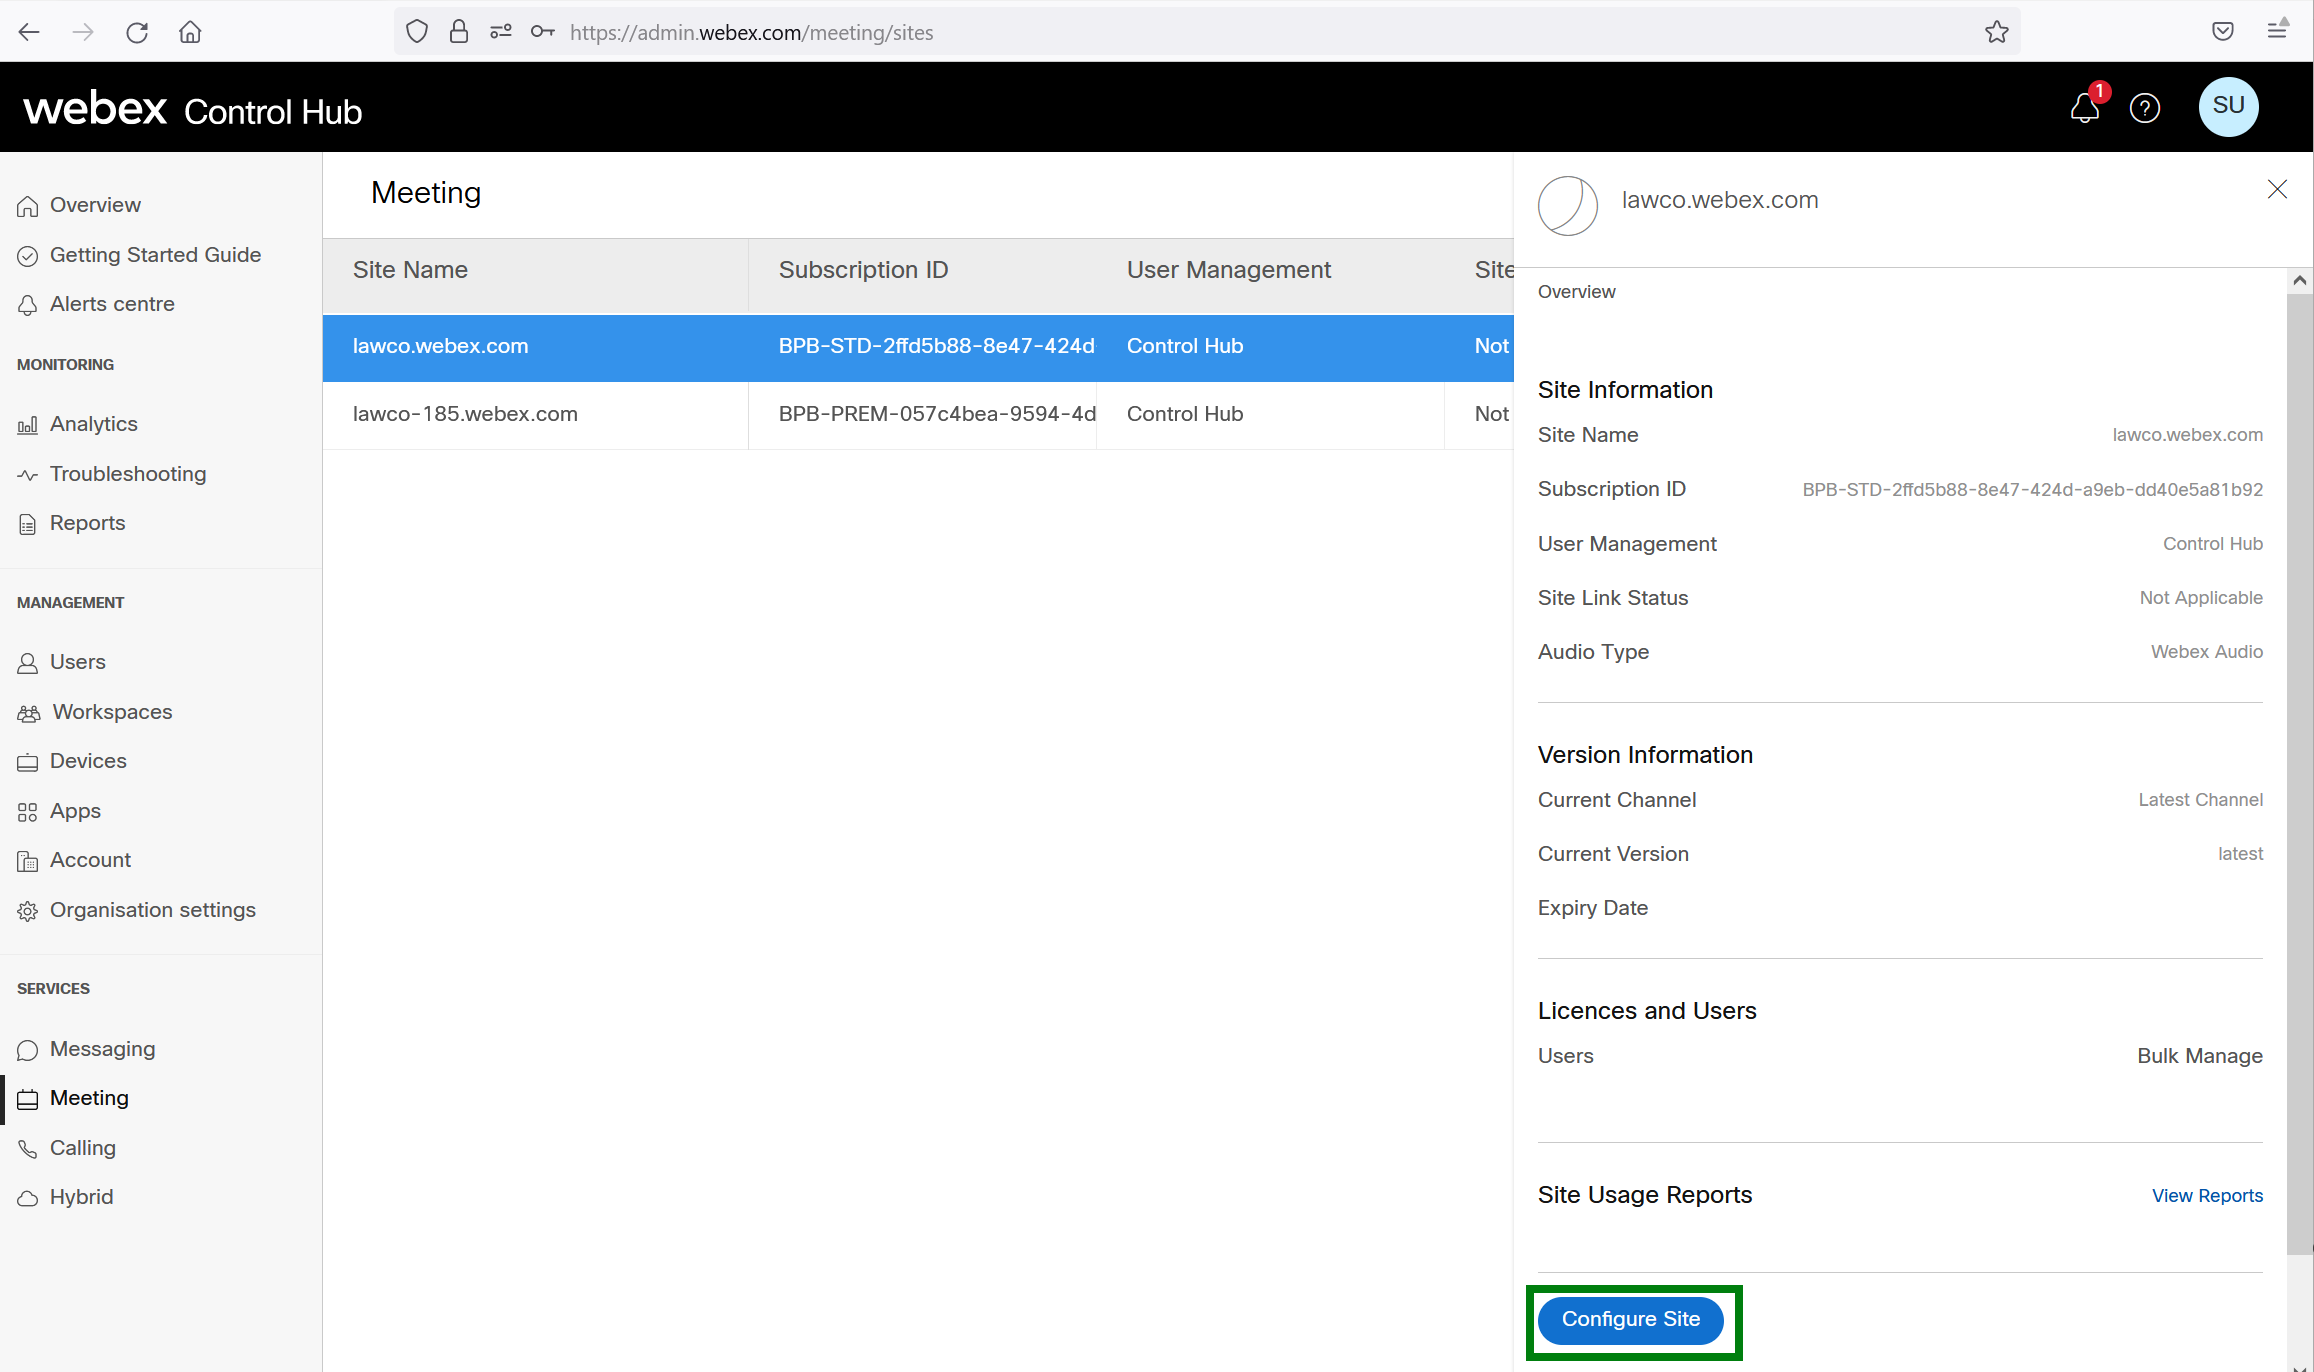
Now click on the meeting site you wish to edit. There will never be more than 2 meeting sites. 1 x Premium and 1 x Standard site, it will depend on the Webex packages that you have assigned.
For reference a Premium site will have a Subscription ID starting "BPB-PREM-", Standard will have a Subscription ID starting "BPB-STD-"

Step Four
When you click on the site that you wish to edit, a window will slide open on the right hand side with information about the site, click on "Configure Site" at the bottom of the window
Step Five
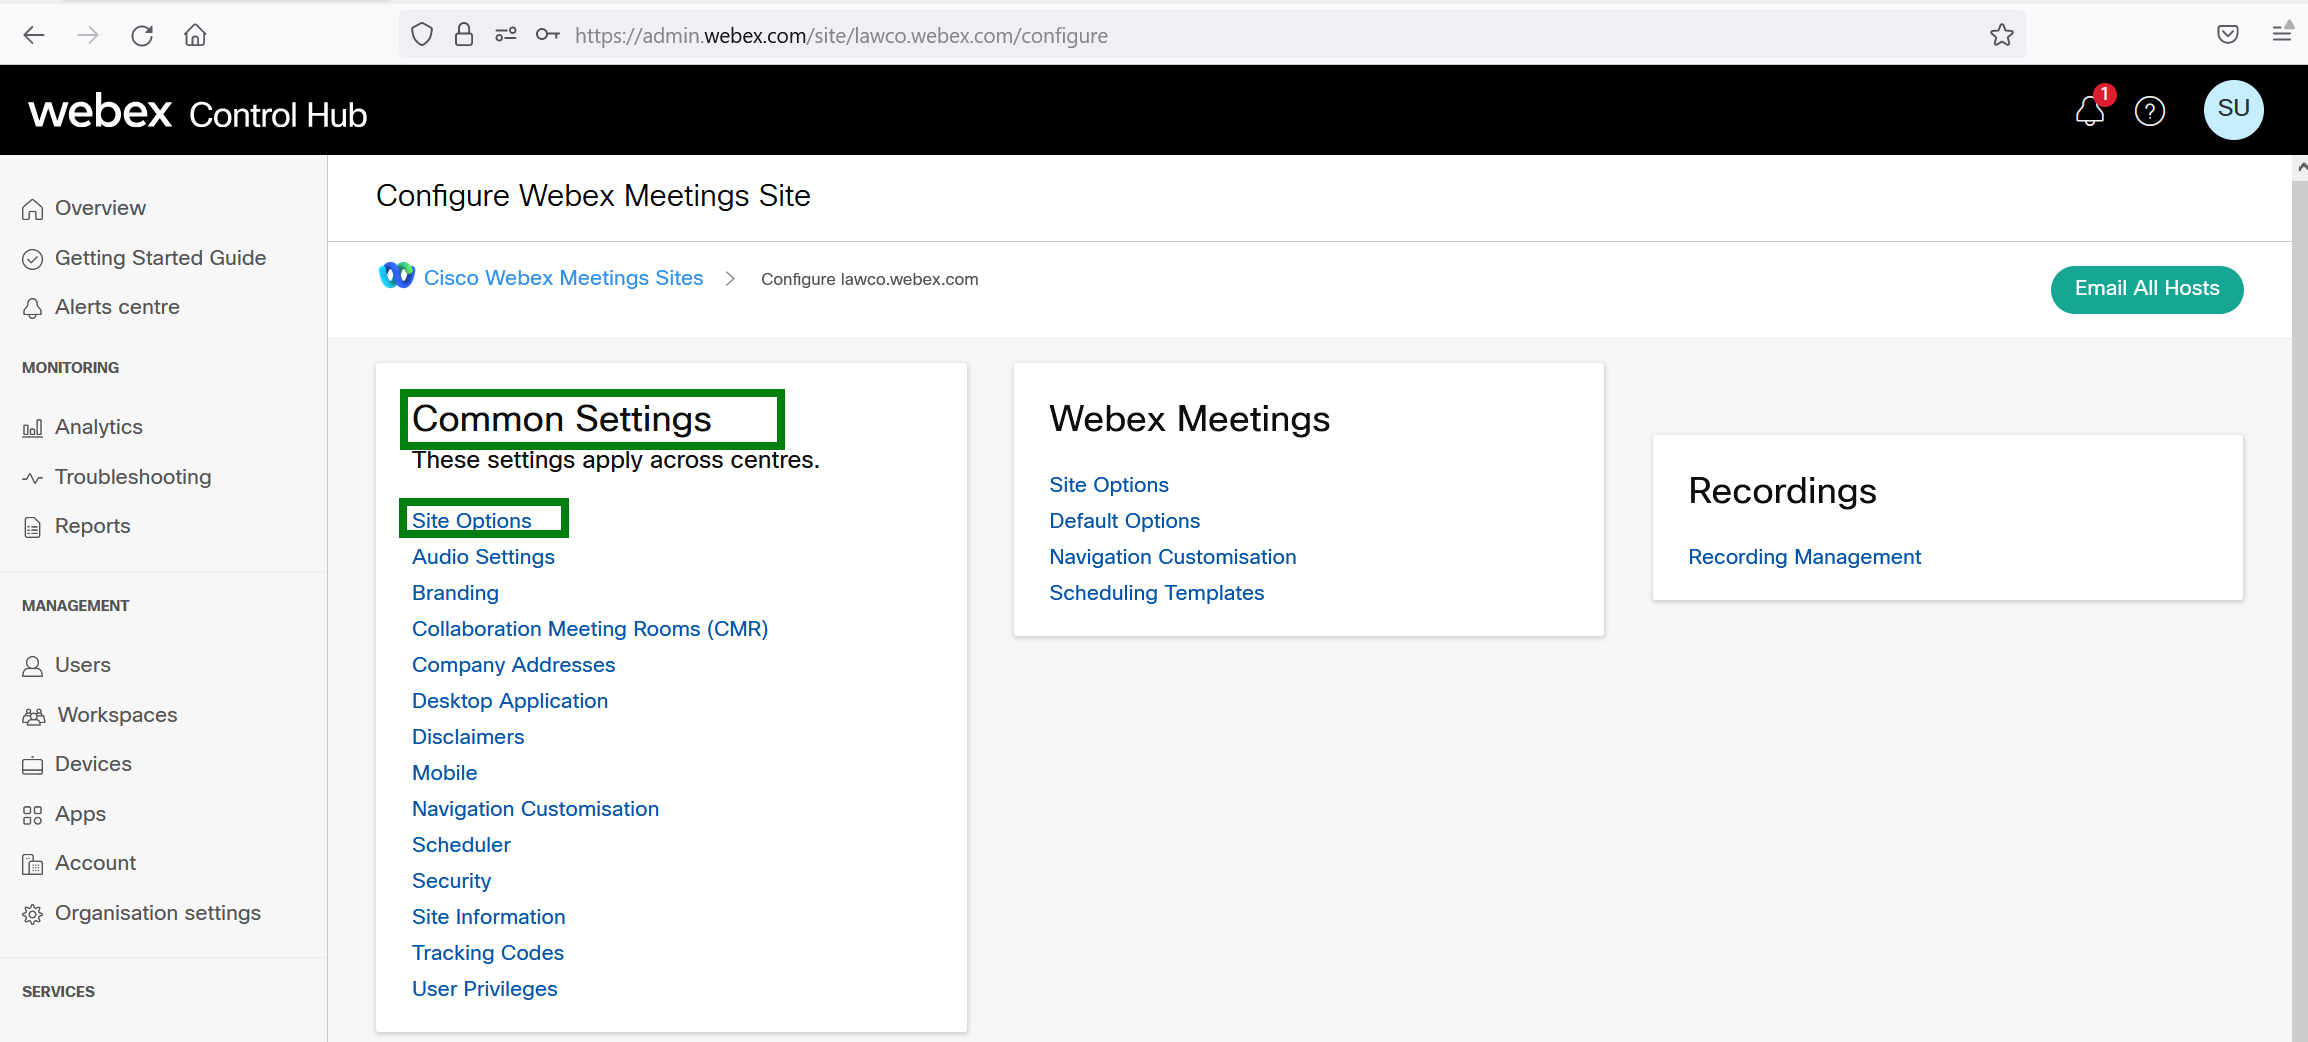
In the next window, under "Common Settings, click on "Site Options"
Step Six
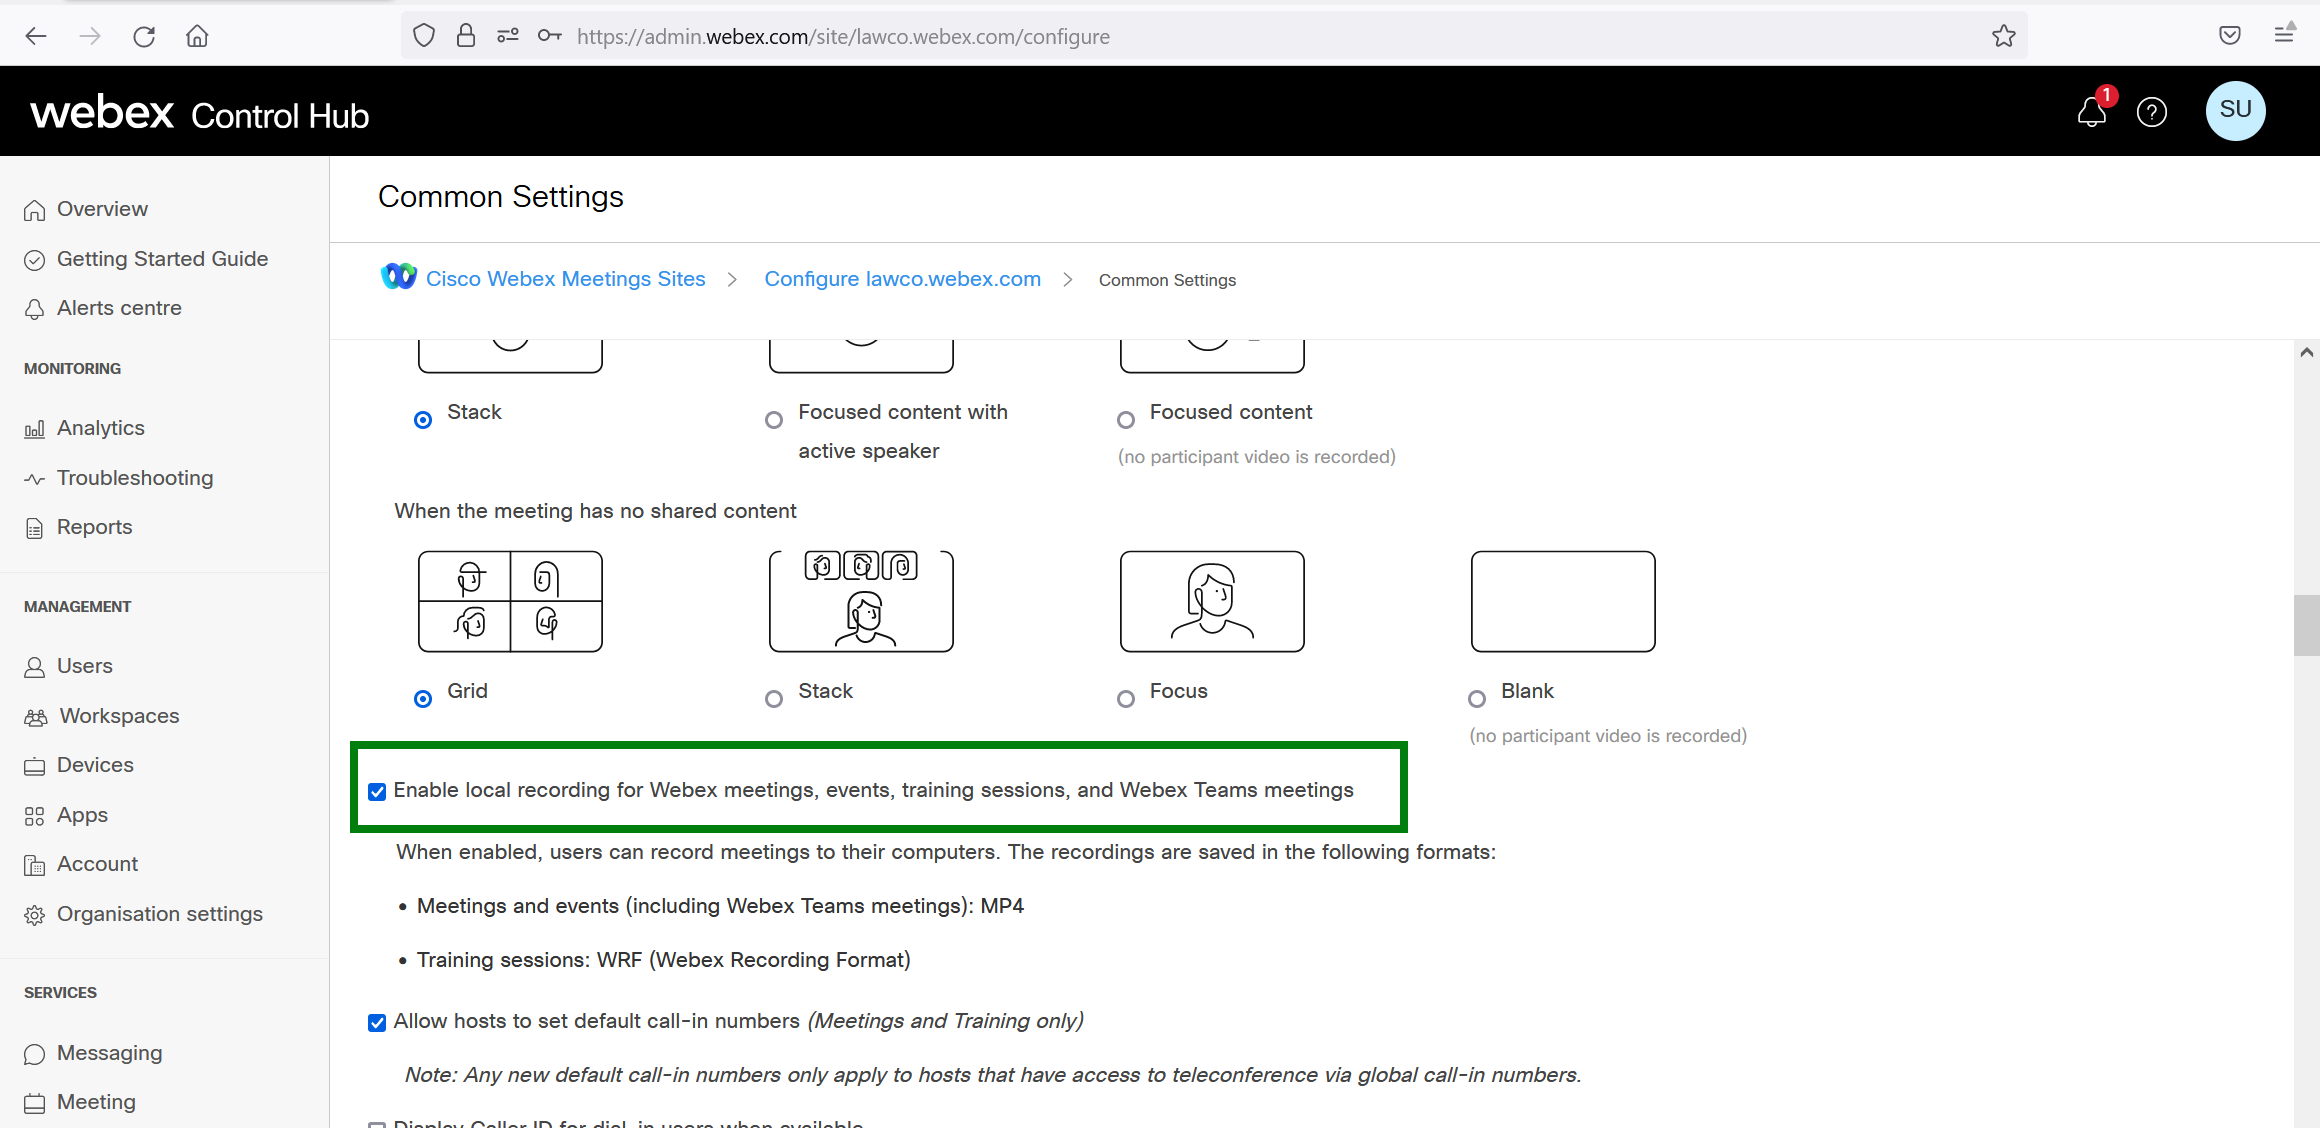
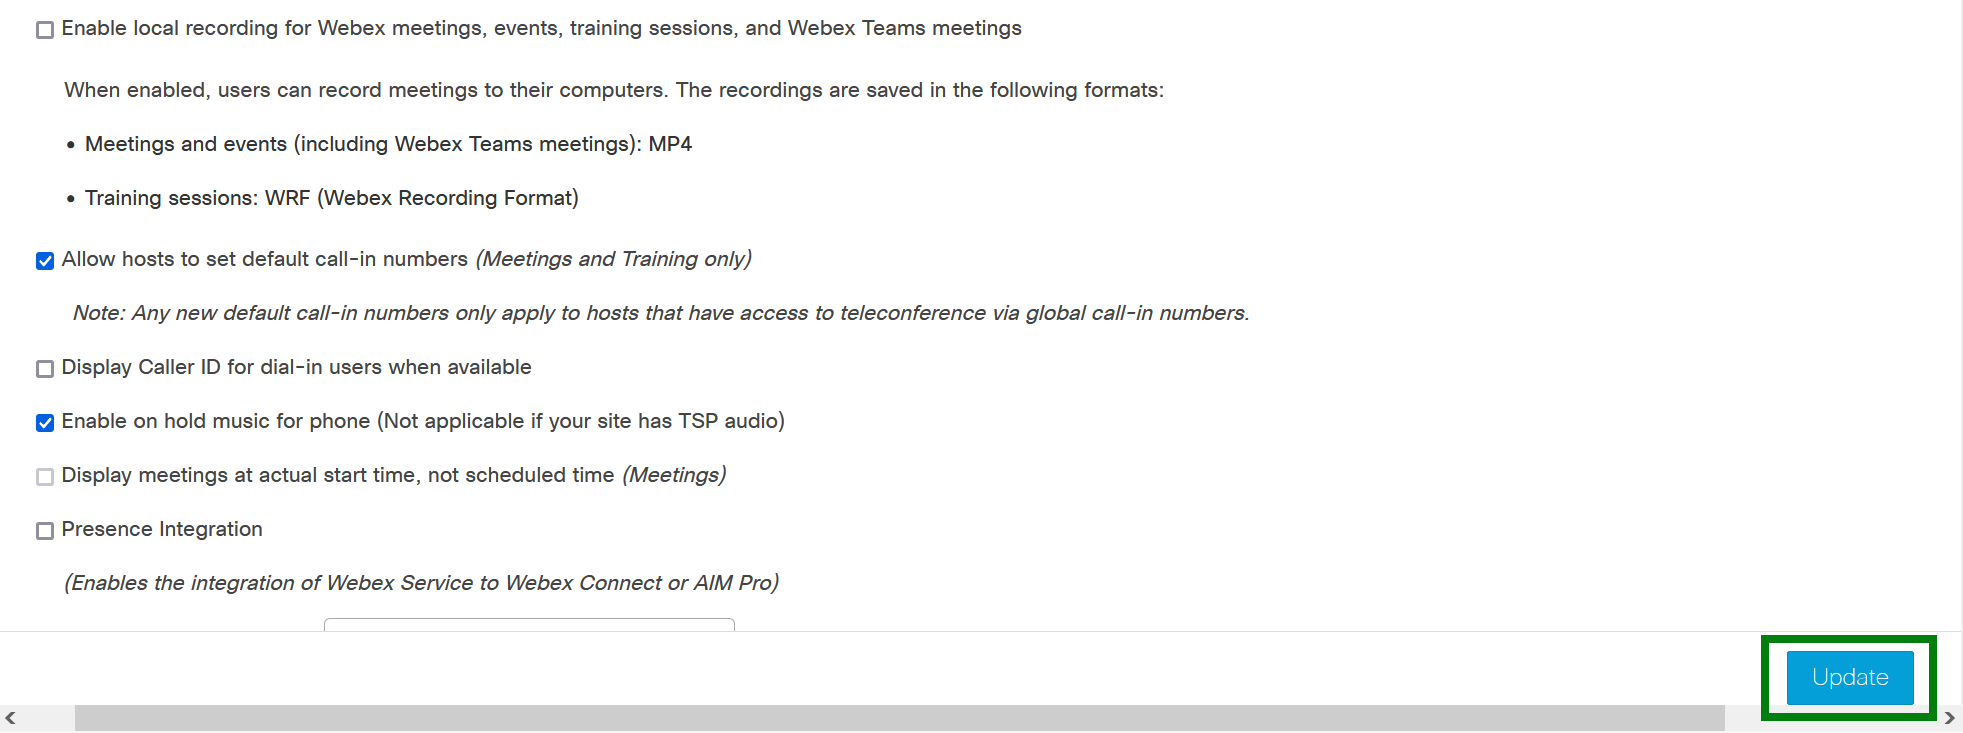
About a third of the way down in the options is the "Enable local recording Webex meetings..." option, uncheck this option. Note - It is easier to press ctrl+f on your keyboard to bring up your browser's search bar and type in "enable local recording" to find this option.
Step Seven
At the bottom right of the window there is an "Update" button, you must click this to save the change
This is now complete. When you are in a meeting you will no longer see the "Record" option.
