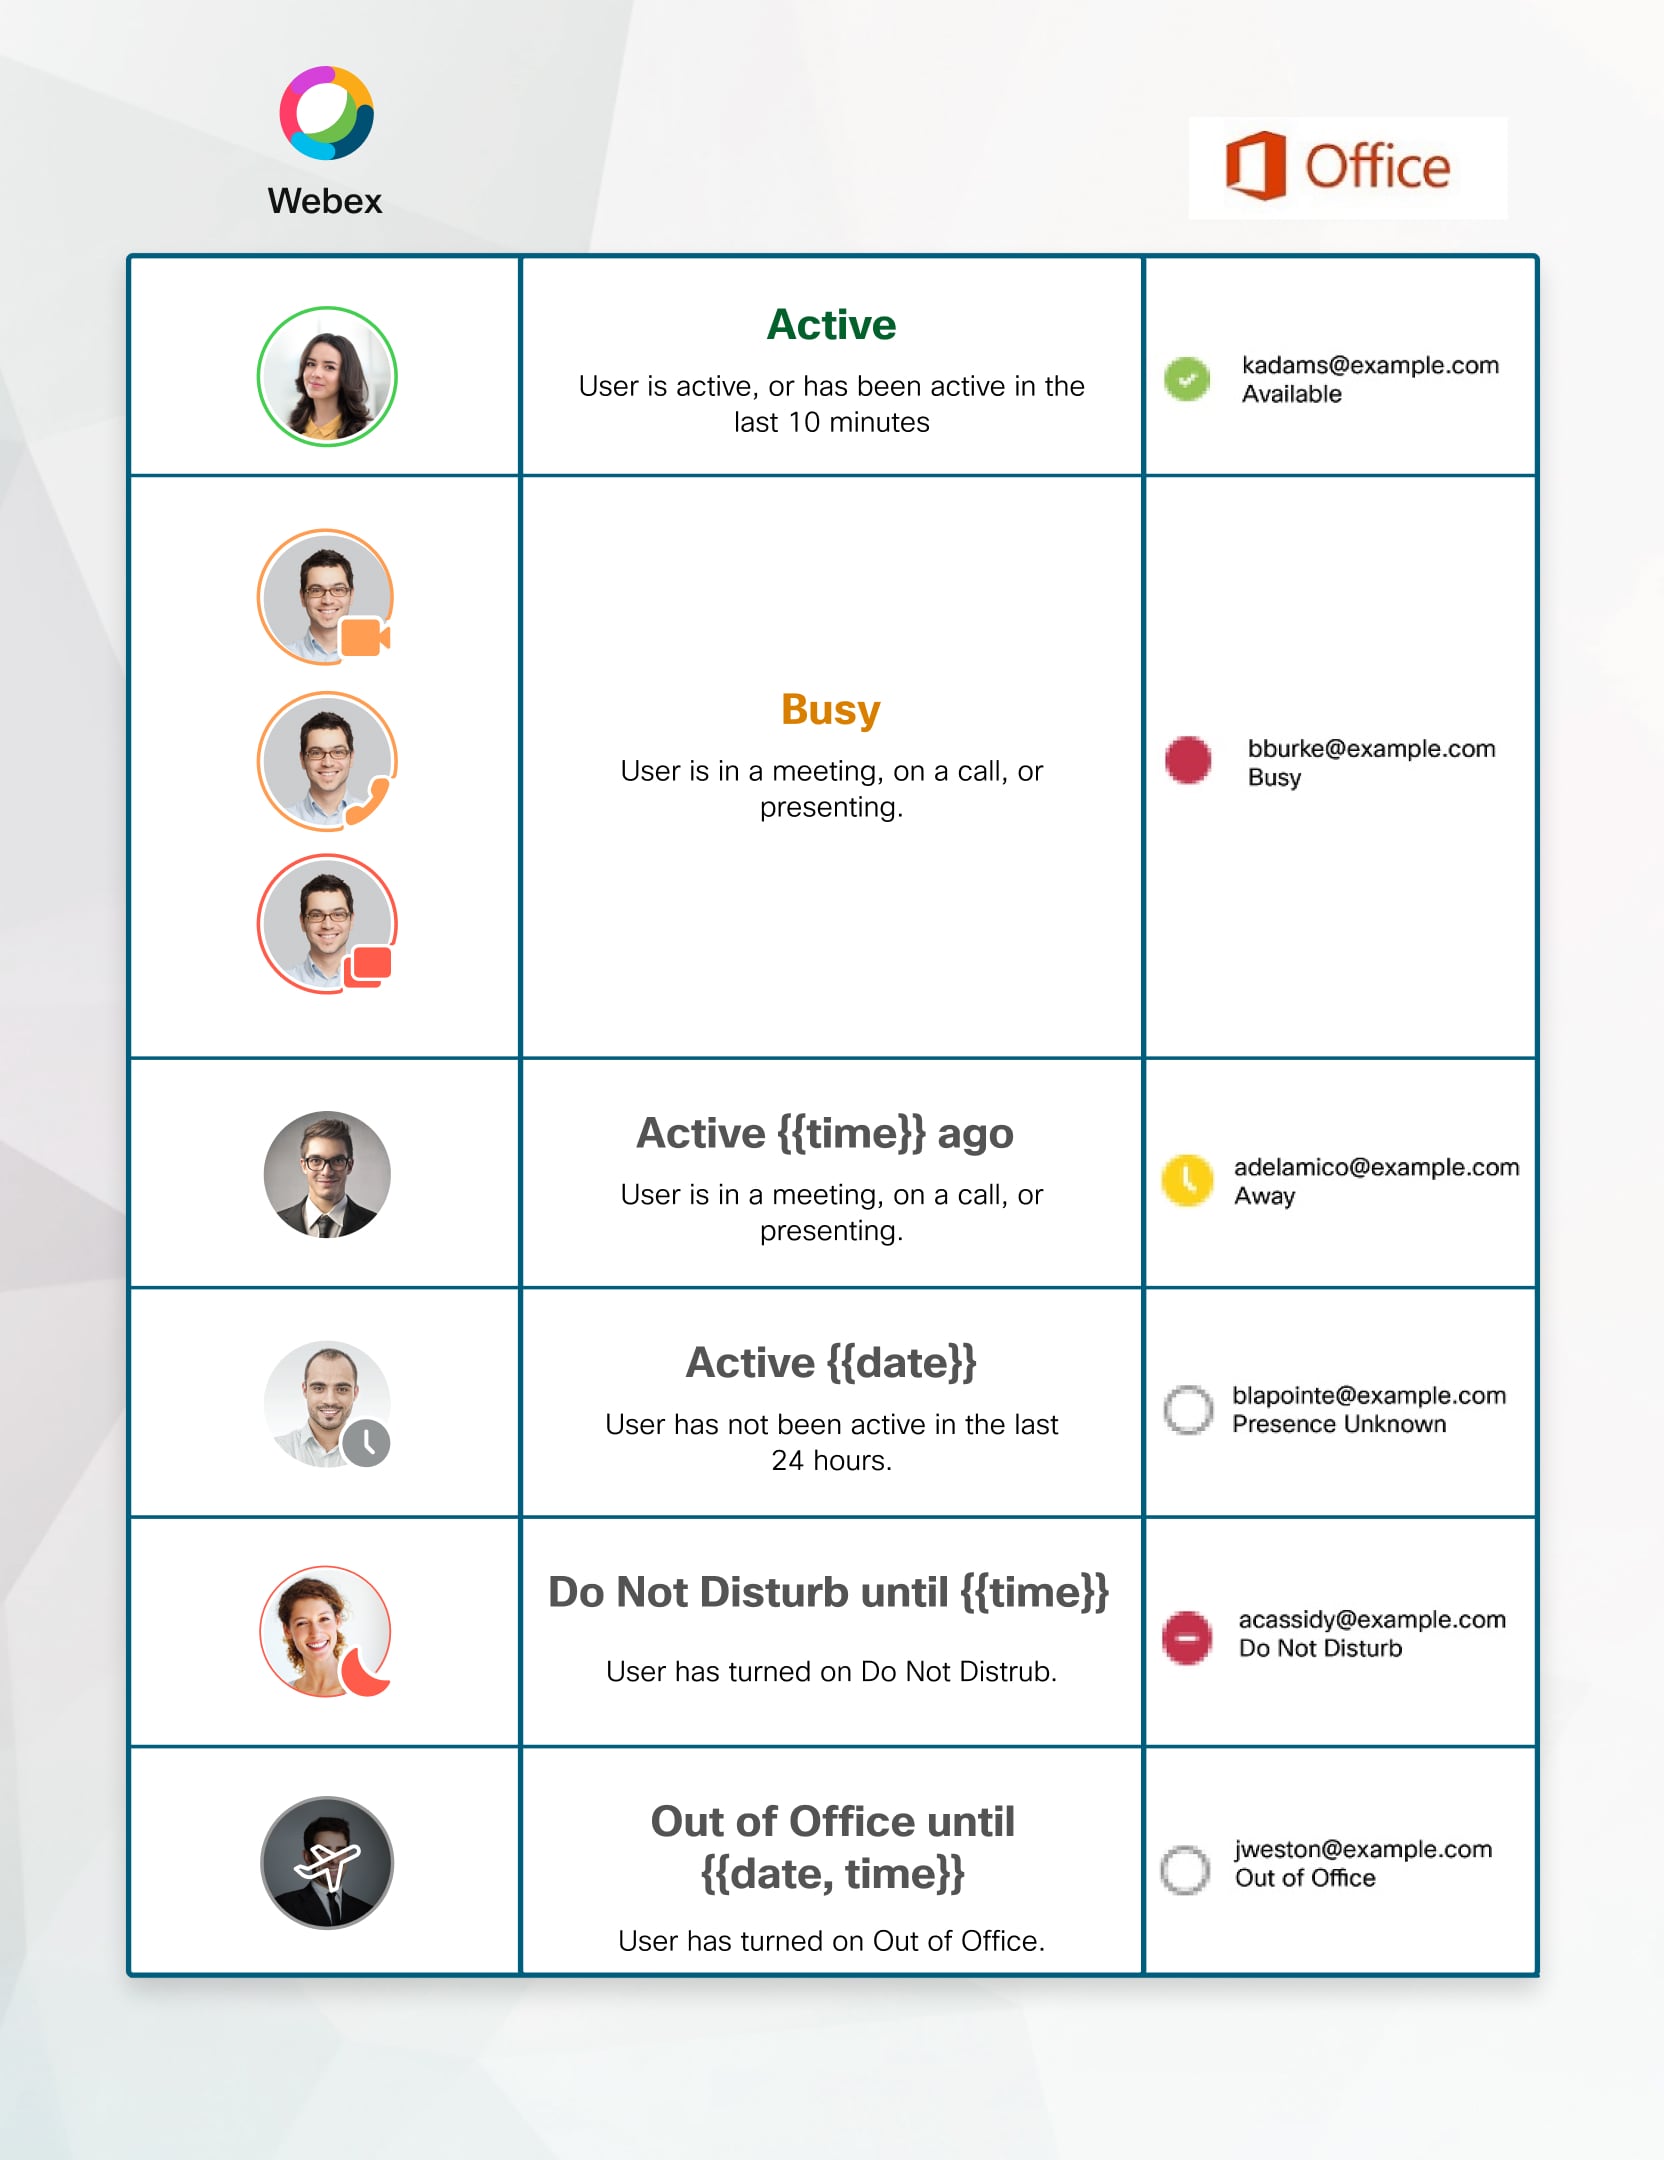
You can enable Webex to integrate user presence within Microsoft Outlook. When integrated you will be able to see the following presence states against a user in Outlook, as well as initiate a call or start a chat by clicking on the phone or speech icons.
Please note this will not work with New Outlook for Windows.
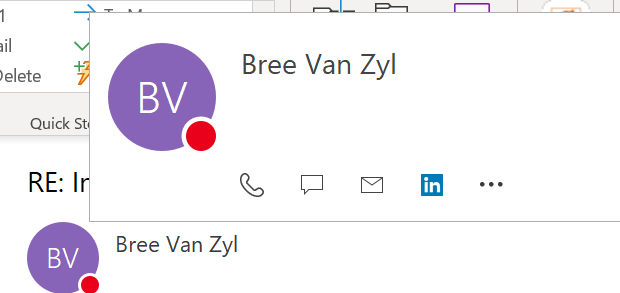
The red circle will change depending on the below states.
Enable within Webex
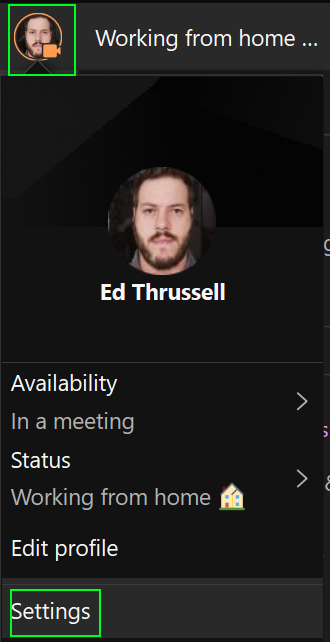
1. While in the Webex app, click on your avatar and then go to 'Settings'
2. Click on Outlook on the left, and press select “Connect Webex to Microsoft Outlook” and press 'Save'. If you have Outlook open, you will need to restart it. Now it is ready to use.
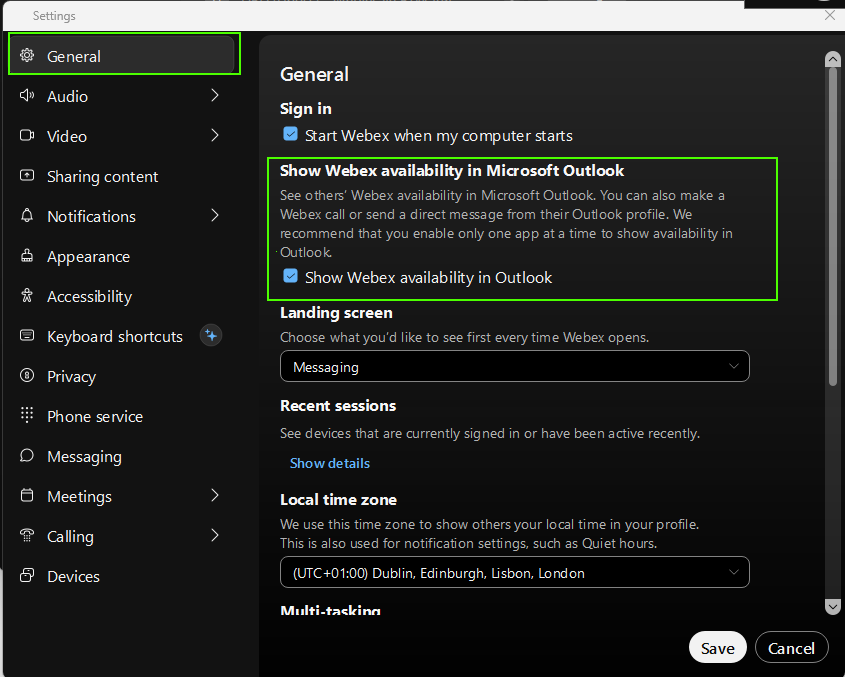
If the above is greyed out then please follow the below instructions:
- Click on the Start menu on the pc and search for cmd.exe and run as administrator.
- In the command prompt window type:
regsvr32.exe /s "path/to/spark-windows-office-integration.dll"
Where "path/to/" is replaced by the location of the spark-windows-office-integration.dll. Location of the DLL file depends on how the Webex App is installed. The following are the possible locations of the DLL files.
C:\Users\<user-id>\AppData\Local\Programs\Cisco Spark\dependencies
C:\Program Files\Cisco Spark\dependencies
C:\Users\<user-id>\AppData\Local\CiscoSparkLauncher\<product-version>_{guid}\dependencies
Once you have done this the "show webex availability in Microsoft Outlook" option should be available.
NOTE: If any of users presence is not showing, then you need to check that all users have completed the above steps. If it is still not working then there may need to be some configuration that needs to be done within the Office 365 portal or your Microsoft environment.
These next steps are assuming that the user is using Microsoft 365. An admin will have to login to the office admin portal.
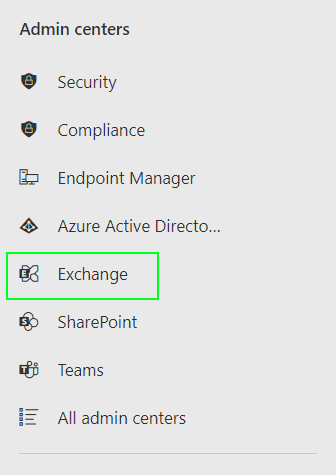
3. Go to the 'Exchange' admin center.
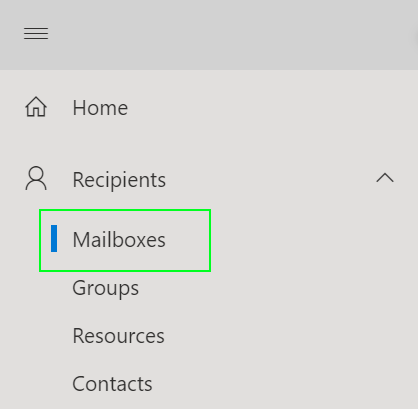
4. Go to 'Mailboxes'
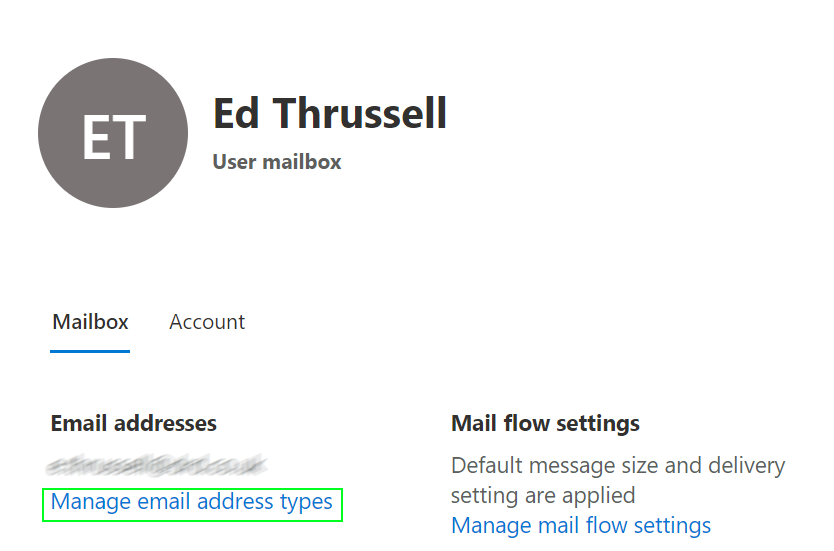
5. Find the user that is not showing presence and click on 'Manage email address types'
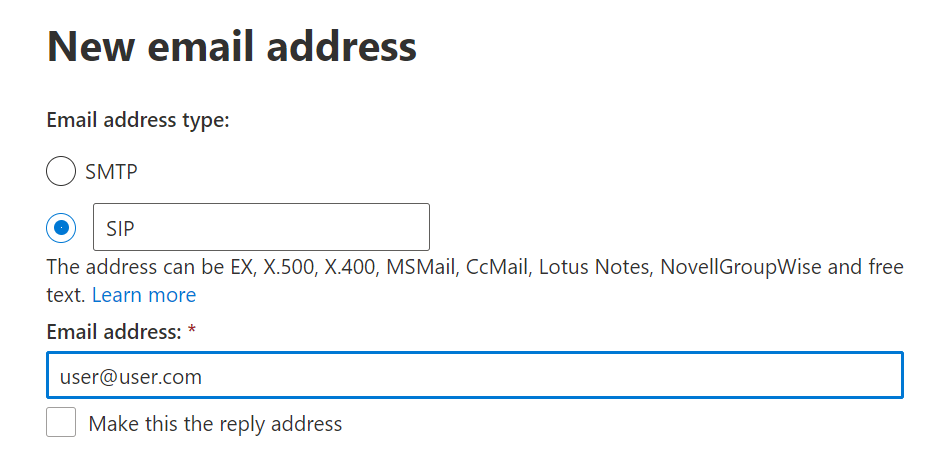
6. Click on the second radio button and enter SIP as the address type. Enter the users’ email address that they use for webex in the Email address field. Click 'OK'
7. Now Click 'Save'.
Please note that it can take up to 24 hours for the change to take effect.
