Adding an Auto Attendant to a Business or Site
An Auto Attendant can be assigned at either Business or Site level. At Business level select ‘Services’; for site level select the site and then select ‘Services’.
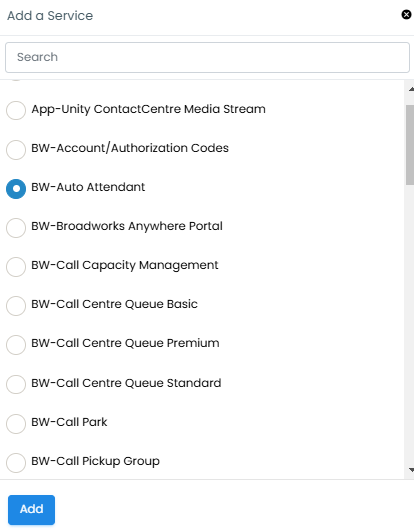
Press 'Add' on the right hand side and then select BW-Auto Attendant from the list of services and then press 'Add'.
Complete the Instance ID, Instance Name and Description. The Calling Line ID First Name and Calling ID Last Name will indicate which Auto Attendant number the call is coming in on. Select the VoIP Telephone number and/or extension number for the Auto Attendant.
Check that the Language and Time Zones are correct.
For ‘Business Hours’ if you don't want to set any opening/closing hours, this can be left as 'Every Day All Day'. If you do want to have different routing for after hours, when you set a Time Schedule it needs to be set with your opening hours.
Now press
Configuring your Auto Attendant
Once the Auto Attendant has been set up you will need to go back into the service to set the call routing.
In ‘Services’ select the new Auto Attendant you have just built.
From the top tabs, select ‘Business Hours’. On this screen you need to enter what happens to calls during business hours when the caller presses 1, 2, 3 etc. Calls can be sent to individual extension numbers, hunt groups, call queues, voicemail, recorded announcements and even external numbers (remember you pick up the cost of the diverted leg of the call when it’s sent to an external number).
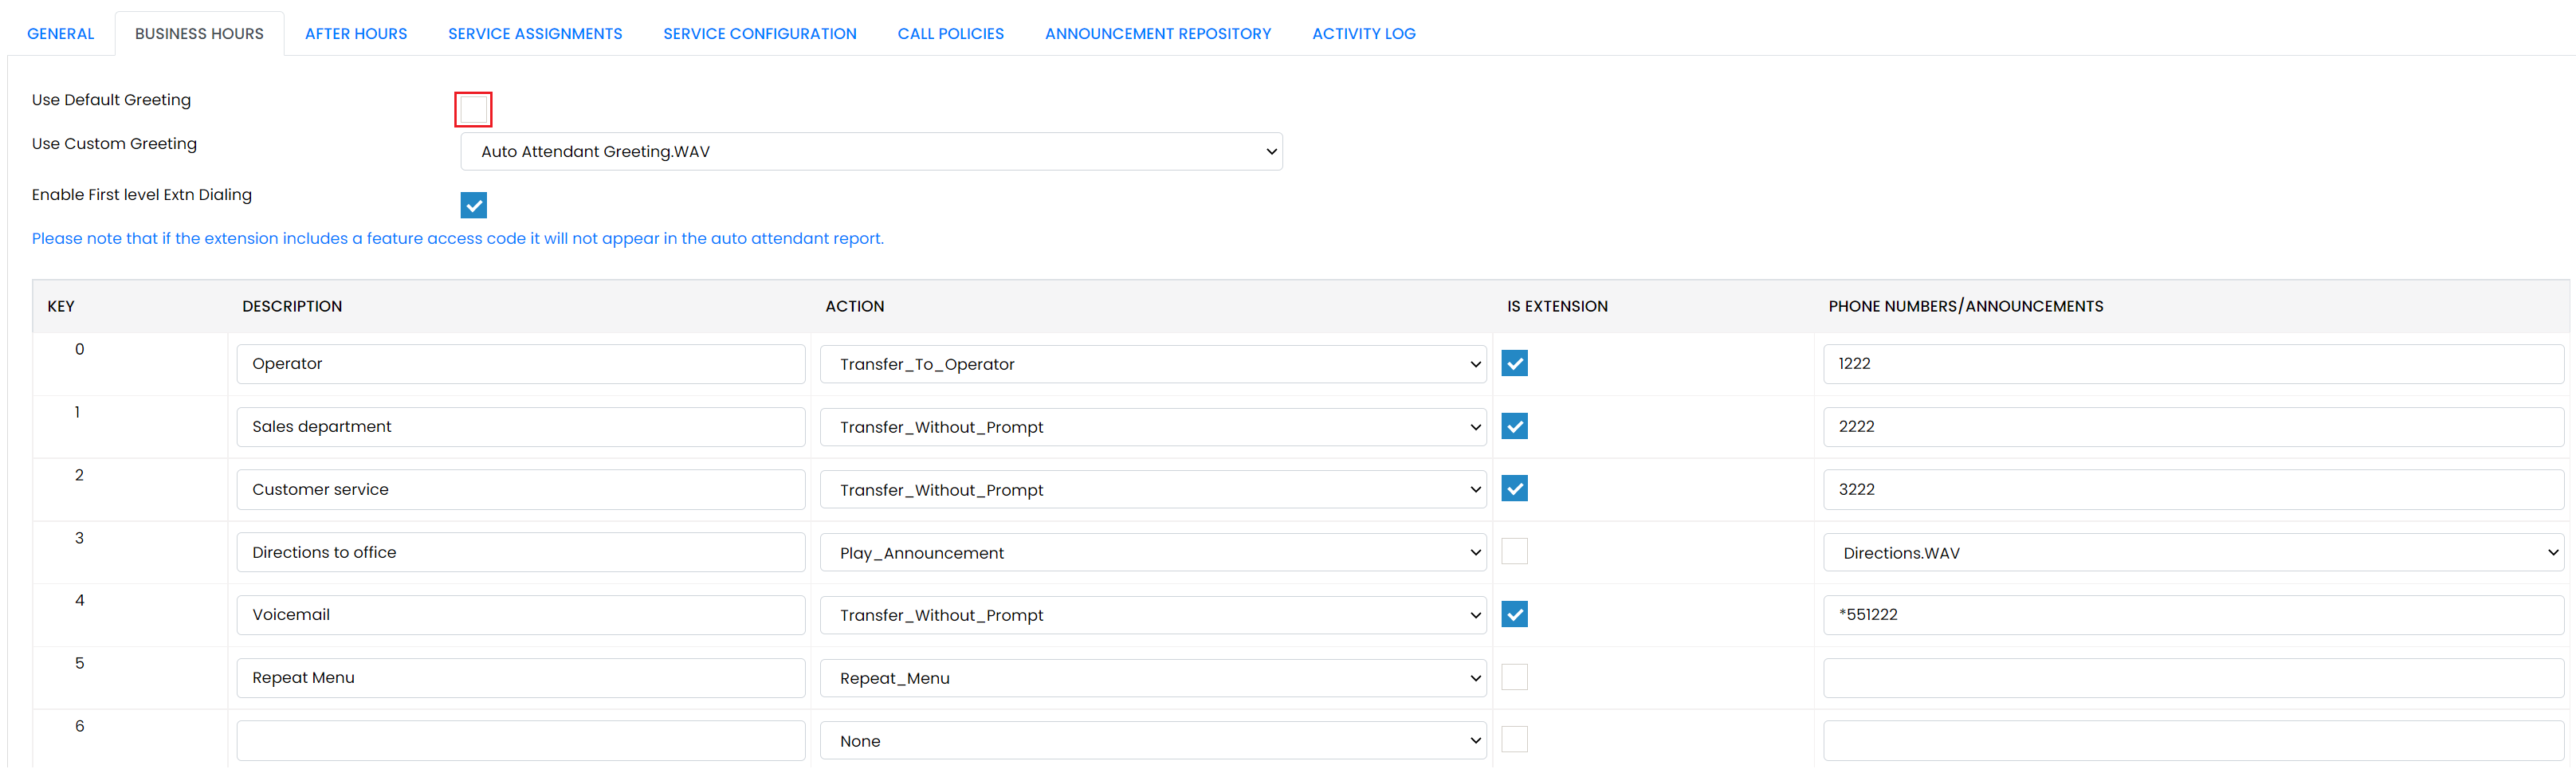
If you want a personal greeting to be played, upload this into the Announcement Repository (you can easily record your greeting on any smart phone and upload to your desktop). Then uncheck the ‘Use Default Greeting’ and select the required greeting from the drop down box. If you want callers to be able to dial someone if they know their extension, tick the 'Enable First level Extn Dialling' box.
If you want one of the options to forward calls to voicemail the phone number needs to be *55xxxx where xxxx is the extension number of the voicemail box you want to divert to. This may be an individual’s voicemail box but you can also set up a voicemail box just for the Auto Attendant. You can add the service in the ‘Service Assignments’ tab.
Repeat this for the ‘After Hours’ tab if required.
The ‘Service Assignments’ tab details all the services allocated to the Auto Attendant. If you want to add anything just tick the corresponding box and press Save.
The ‘Service Configuration’ tab allows you to configure the services you have selected e.g. voicemail, call forwards, pre-alert announcement.
The ‘Call Policies’ tab allows you to customise how you want the CLI to present. Most people generally leave the default settings.
In the ‘Announcement Repository’ you can upload your personalised welcome greeting and any announcements you want the callers to hear depending on the options given.
The ‘Activity Log’ shows you any changes that have been made to the AA, who has carried these out and the date.