In this article you will guide you through how to assign a Wallboard in Uboss If you would like to know how to open and customise the wallboard layout please see the guide here
Adding a Wallboard Instance
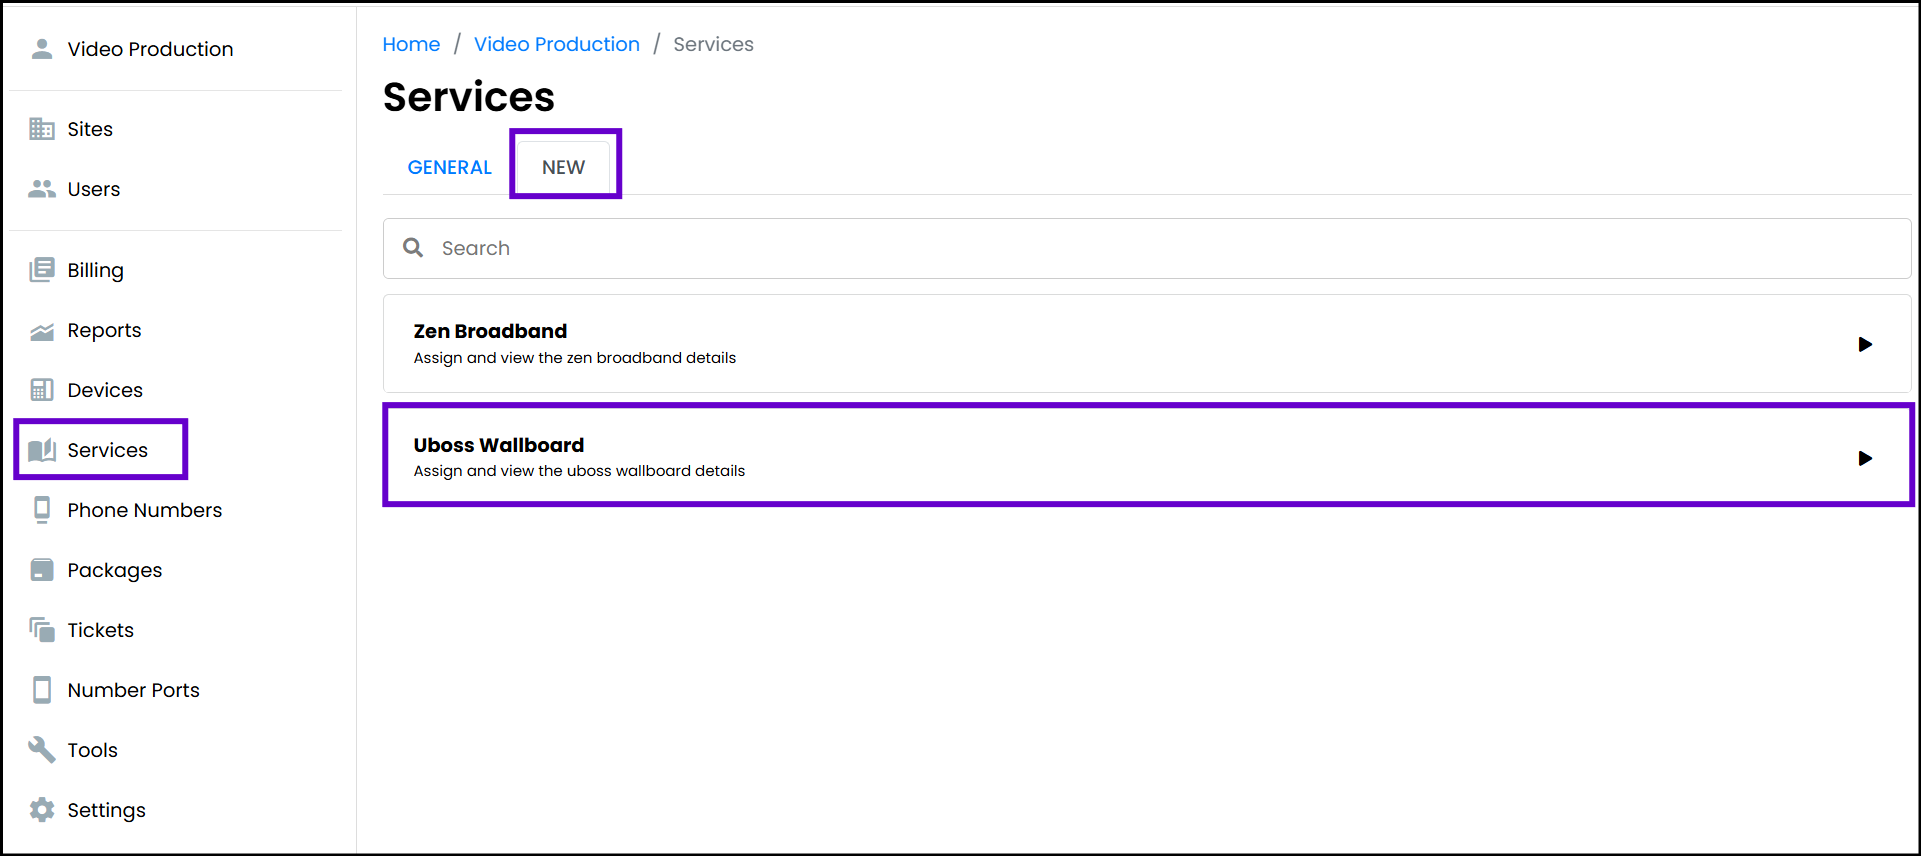
At a business level in Uboss, go to the "Services" menu on the left, then the "New" tab, then click on "Uboss Wallboard"
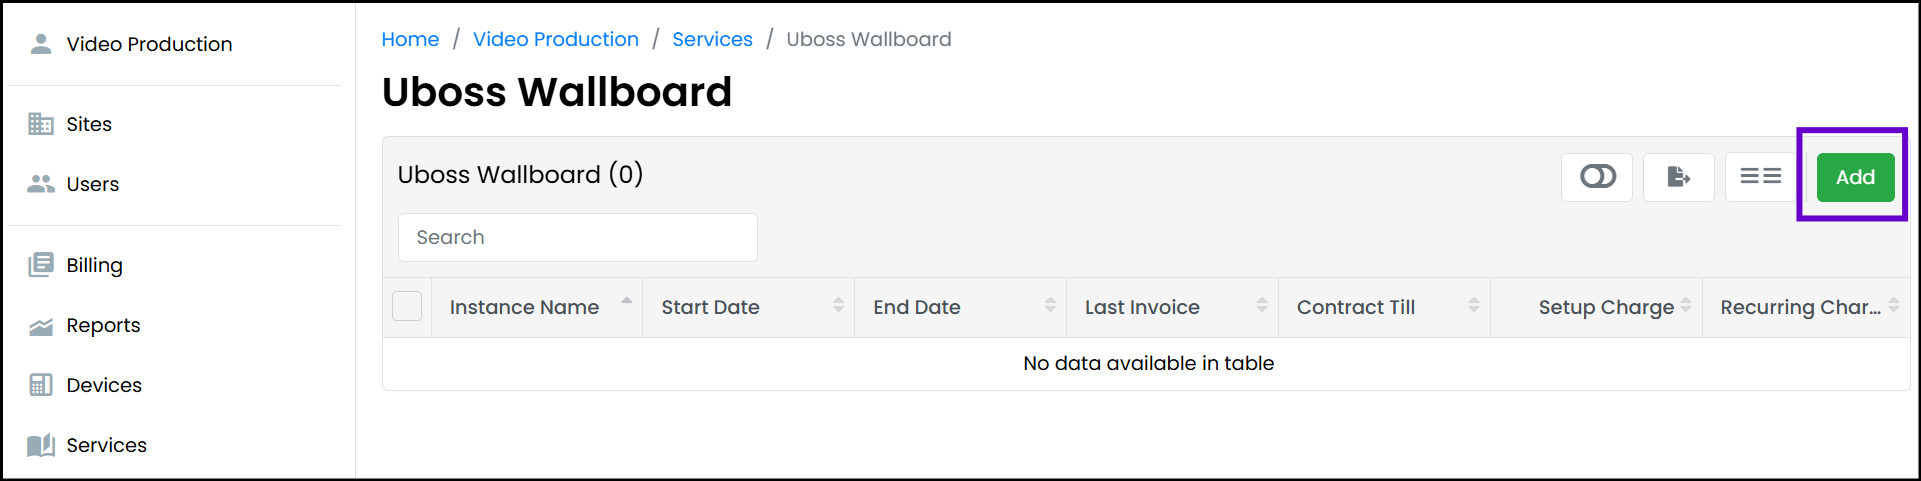
Click on the Green "Add" button on the top right
Wallboard Settings
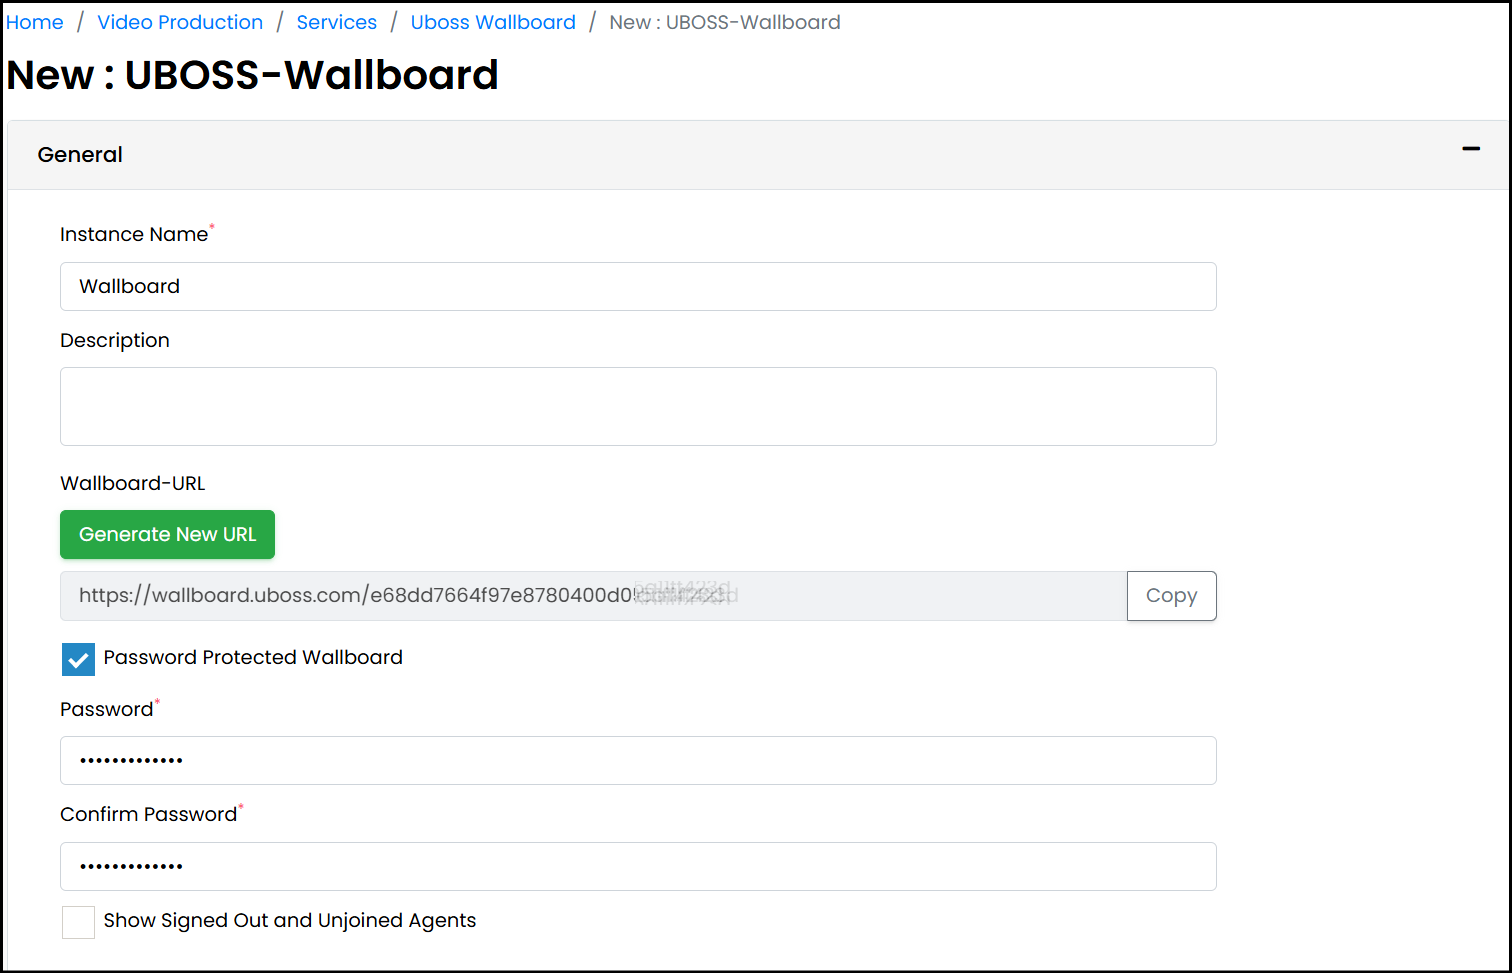
In the Wallboard "Add" page complete the following:
Instance Name - This is just a name for the wallboard instance, and can be displayed on the wallboard itself
Description - Can be left blank
Wallboard-URL - This URL can be copied so that users can paste into a browser to access the URL. Should it be required "Generate New URL" can be click to re-generate the URL for the wallboard
Password Protected Wallboard - Enabled by default. As the Wallboard URL is publicly available it is recommend that you set a password to protect access.
Show Signed Out and Unjoined Agents - When enabled the wallboard will show any agents that are not currently joined or signed out of the monitored call centres. This can help supervisors monitor the call centre agents by only showing currently signed in agents, rather than every agent. This is disabled by default.
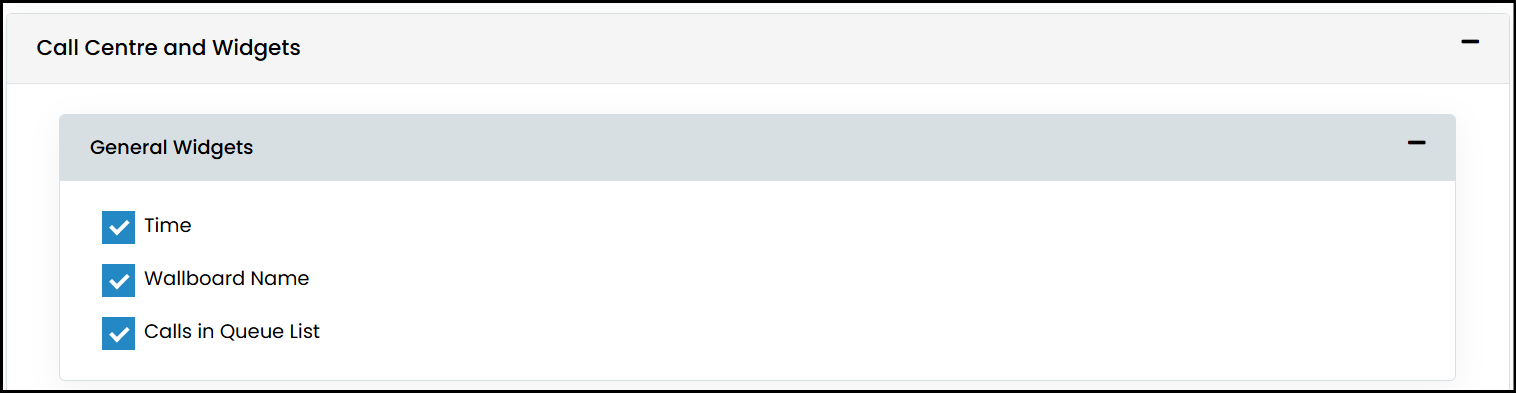
Next you have the option to choose to display any of the "General Widgets":
Time - This will display the current system time
Wallboard Name - This tile will show the name of the Wallboard taken from the service instance name.
Calls in Queue List - This widget shows all of the current calls queuing across all monitored call centre queues
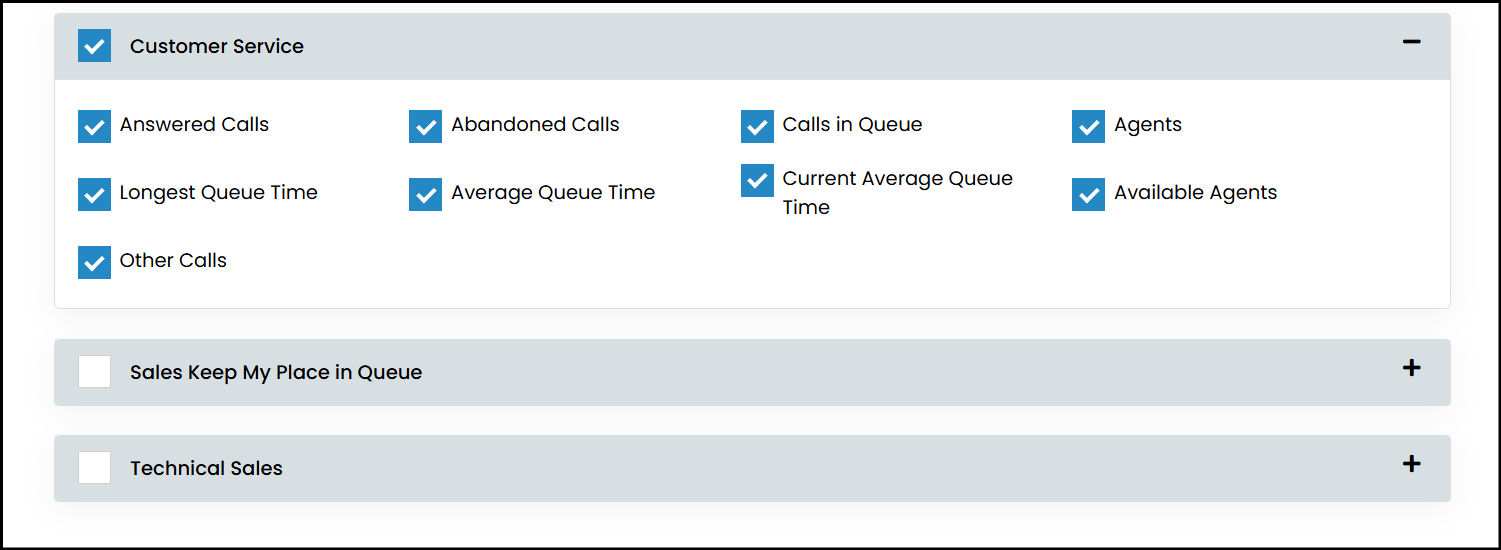
Now you have to select which call centre queues you want to monitor. None are selected by default and you must monitor at least one queue and choose one of the statistics to monitor. The statistics are:
Answered Calls - Number of calls successfully answered by an agent in the call centre
Abandoned Call - Number of calls that were not answered in the call centre and were abandoned by the caller
Calls in Queue - Number of calls currently waiting in the call centre queue
Agents - Displays the list of agents in the monitored queue
Longest Queue Time - the longest wait time for callers in the call centre queue
Average Queue Time - the total average wait time across all calls for the day
Current Average Queue Time - the average wait time for the calls currently in the queue
Available Agents - The number of agents currently available to recieve a call
Other Calls - Shows the count of calls not classed as answered or abandoned
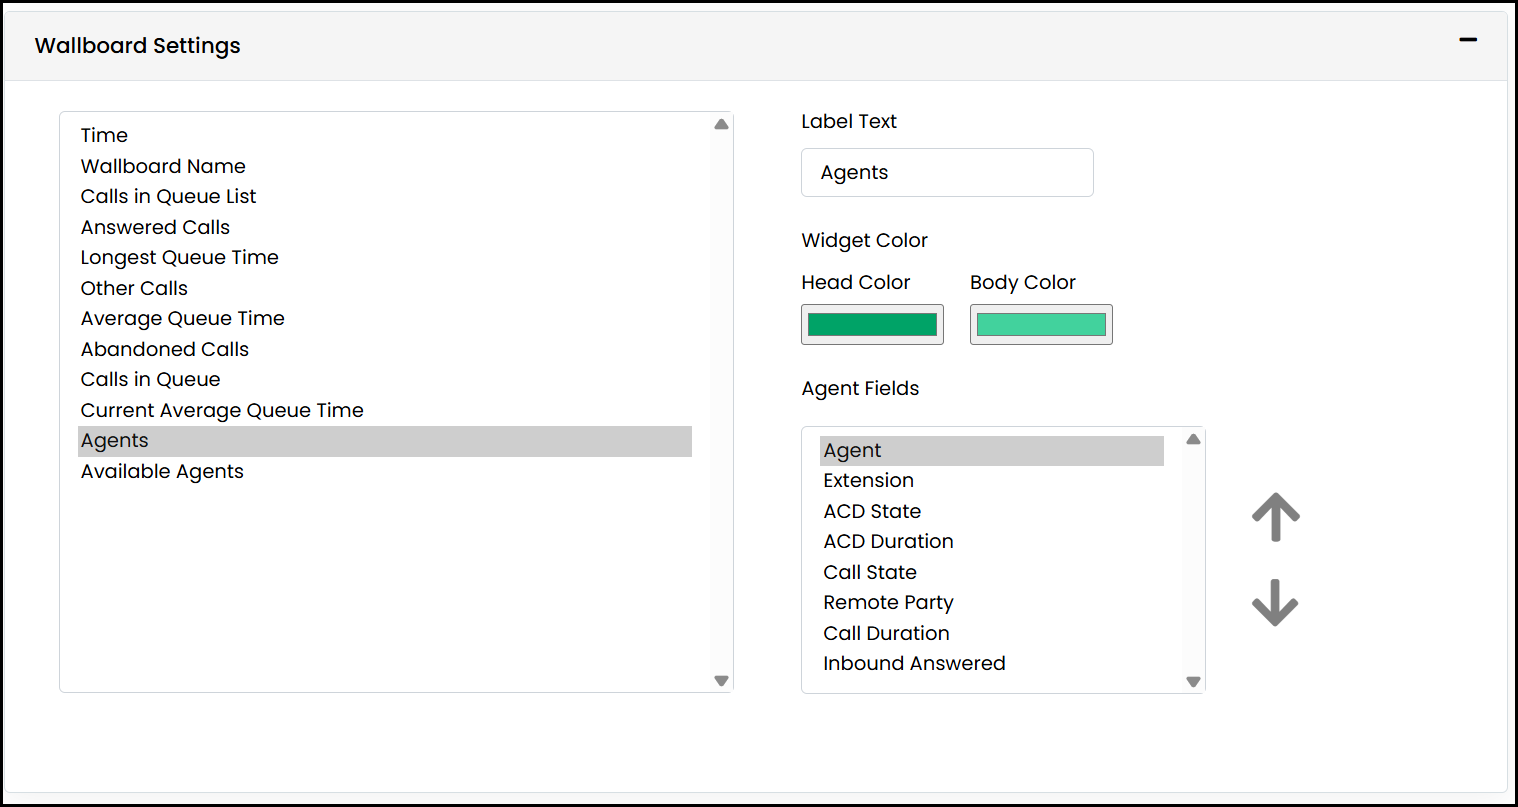
In the Wallboard Settings, it is possible to modify the name of each widget/tile and the colours for the header and body of each tile. For the following tiles, threshold values can be set so that the text value of the statistic will change to a colour to alert users to a potential concern:
Answered Calls
Longest Queue Time
Average Queue Time
Abandoned Calls
Calls in Queue
Current Average Queue Time

Finally for the Agents Tile it is also possible to modify the order of the columns
Click on Save and the wallboard will be ready to use. After the wallboard is saved you can go back into the service instance and add any extra widgets/tile and add or remove call centres queues.
Launching the Wallboard
To launch a wallboard instance, there are 2 options -
- Copy the wallboard URL and paste it into a browser.
- Under the wallboard instance in Uboss there will be a "Launch Wallboard" button that when clicked will open the wallboard in a new browser tab
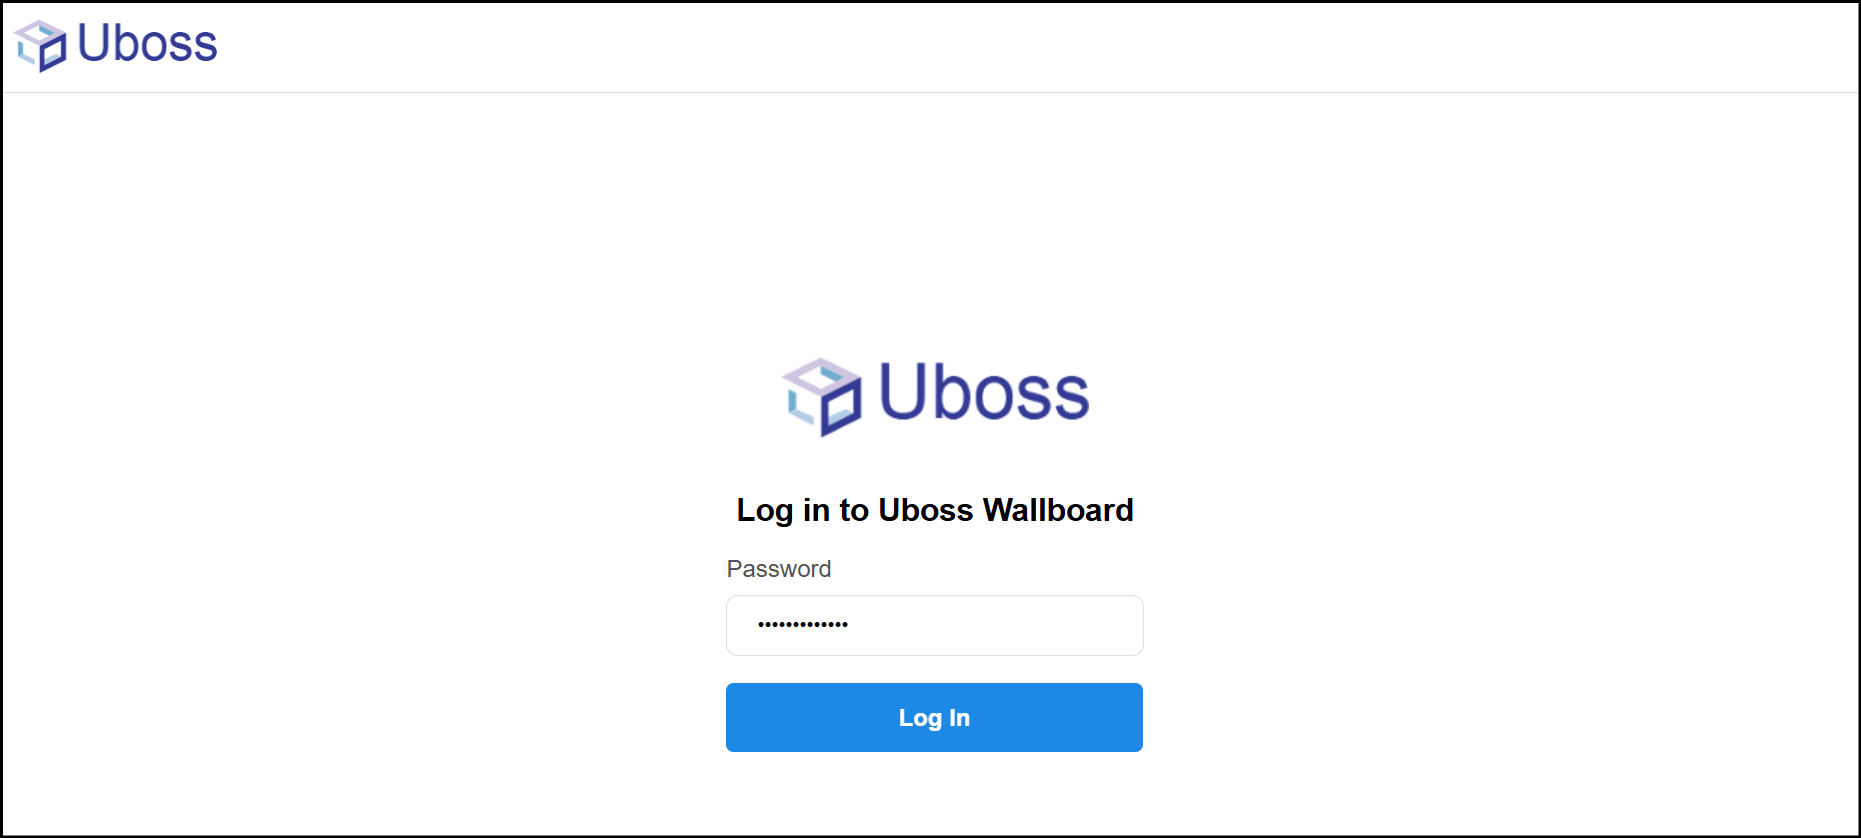
If a password was set, please enter it and then click "Log In" to access the wallboard