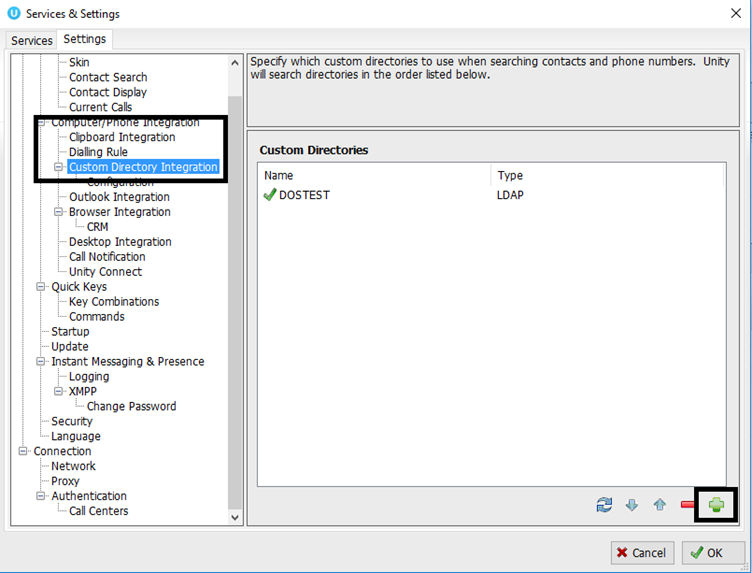
In Unity, go to the settings menu> settings tab> Computer>Phone Integration>Custom Directory Integration> Click on the + button
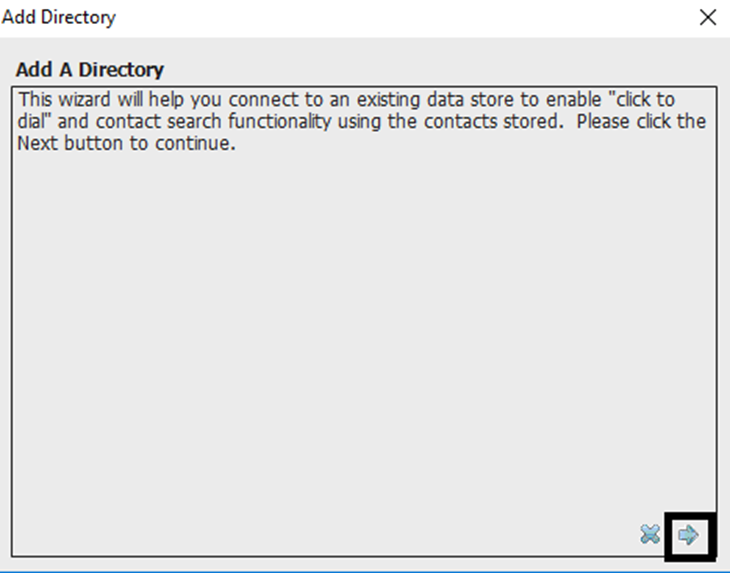
On the Add Directory Screen click the -> button
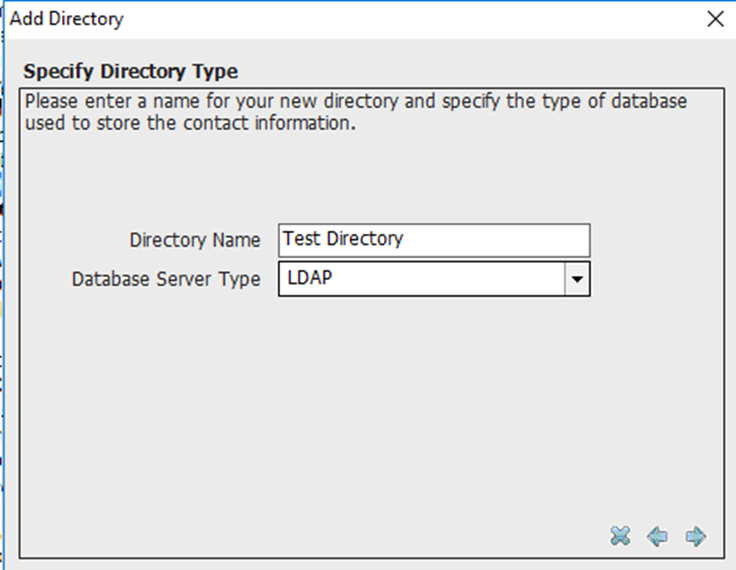
Enter a directory name and choose ldap then press ->
Complete the following
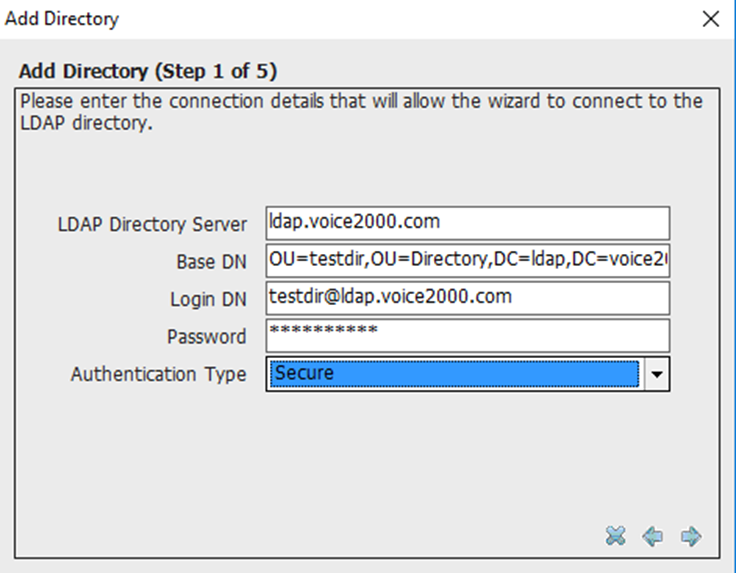
Base DN should be OU=business/SiteName,OU=Directory,DC=ldap,DC=voice2000,DC=com
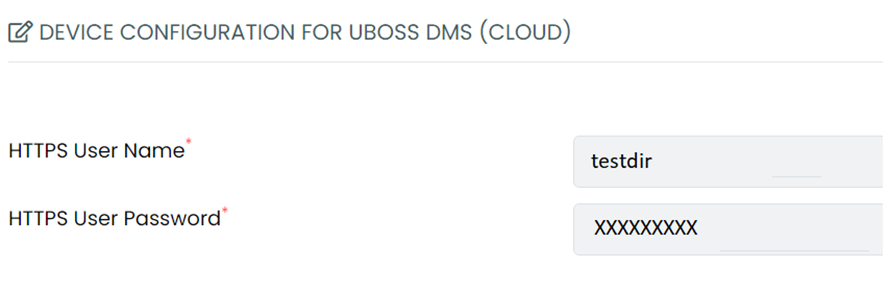
The Business name for the BaseDN is the same as the HTTPS User name from the Device Configuration for Uboss DMS found under the business profile page in Uboss in the VOIP Details Tab:
If you are setting up Site directories, then the Site name for the BaseDN is slightly different. The format of the site ID is Siteidnumber_httpsusername
To get the siteidnumber, navigate to the business site in a browser.In the URL bar in the browser, you will see something like the below. The Site ID is highlighted in the screenshot:

The HTTPS User name is the same as in the above section for the Business name for the BaseDN.
So, in this example it will be 12557_testdir.
The Login DN for a business level integration is the HTTPSusername@ldap.voice2000.com
The Password is the same as the HTTPS User Password from the screenshot above.
So, in this example if setting up for a business level integration it would be:
Login DN - testdir@ldap.voice2000.com
Password - XXXXXXXXX
The Login DN for a site level integration is the Siteidnumber_httpsusername@ldap.voice2000.com
The Password is the same as the HTTPS User Password from the screenshot above.
So, in this example if setting up for a site level integration it would be:
Login DN – 12557_testdir@ldap.voice2000.com
Password - XXXXXXXXX
When you have entered the details, press ->
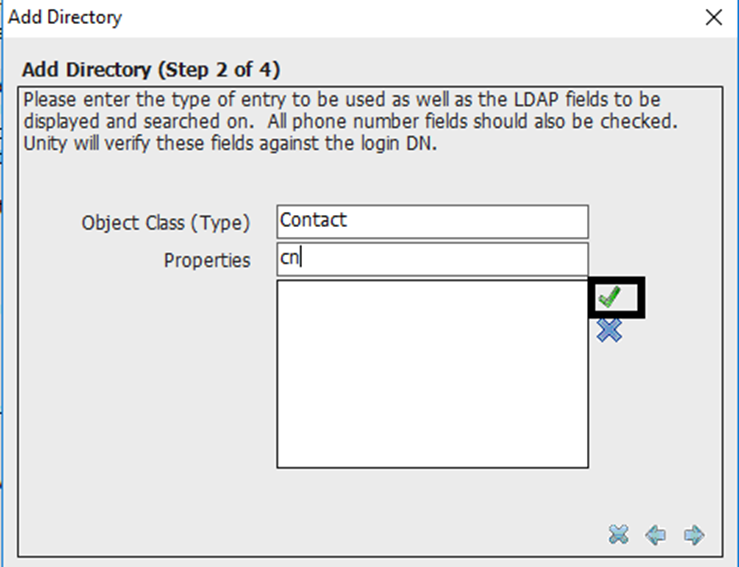
Add the following
Also
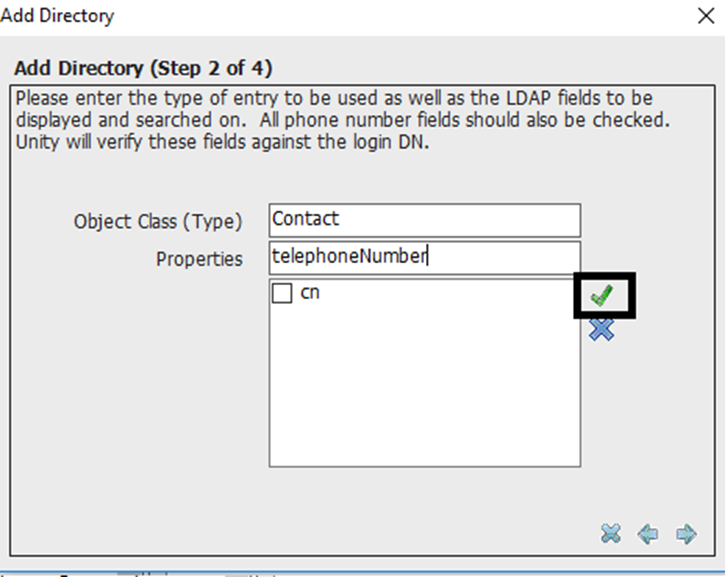
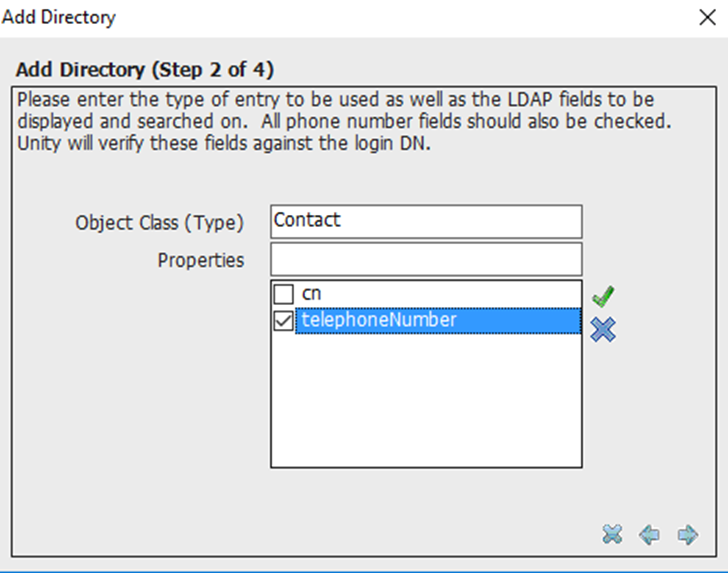
When these are added make sure you check the tick box next to telephoneNumber
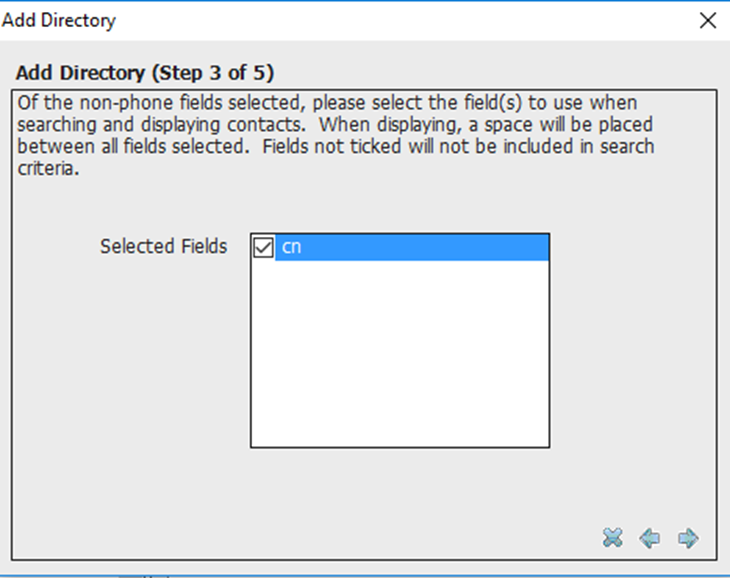
On the next screen select cn, click ->
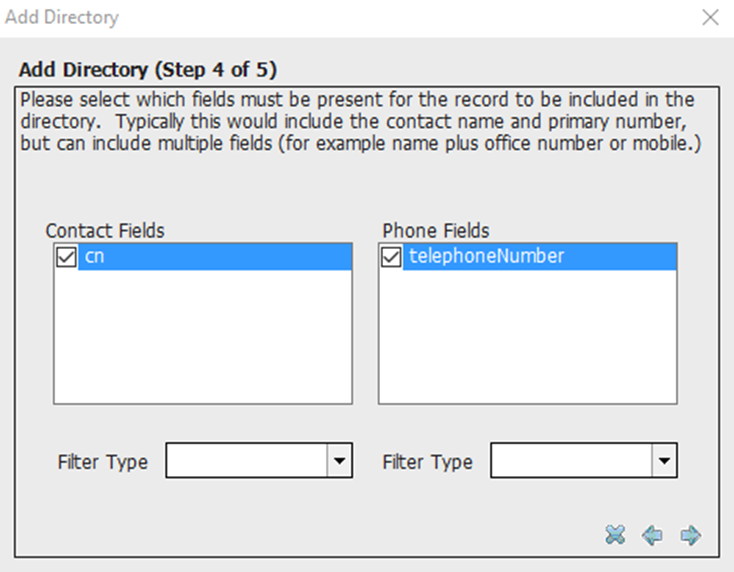
Select both cn and telephoneNumber
Choose cn from the drop down
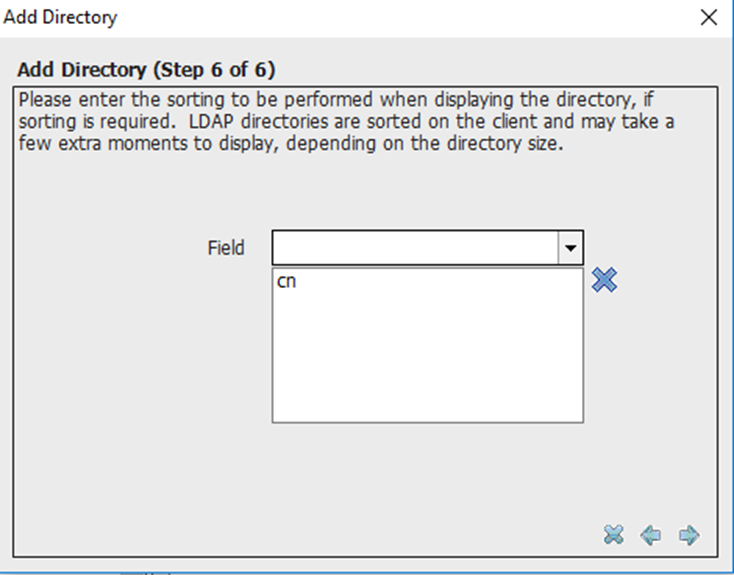
Click -> and the directory will be added.