Please download the Webex application here Webex Download Links
Once downloaded, the following guide will show you step by step how to install Webex. This guide focuses on the Windows installer.
Step One: Installation
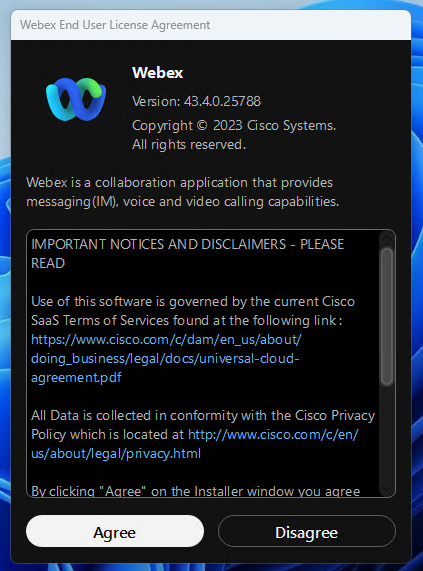
After you have downloaded the application run the installer. The first screen you will see is the End User License Agreement, have a read through and click on "Agree"
The Installer will then continue and you will be prompted to login.
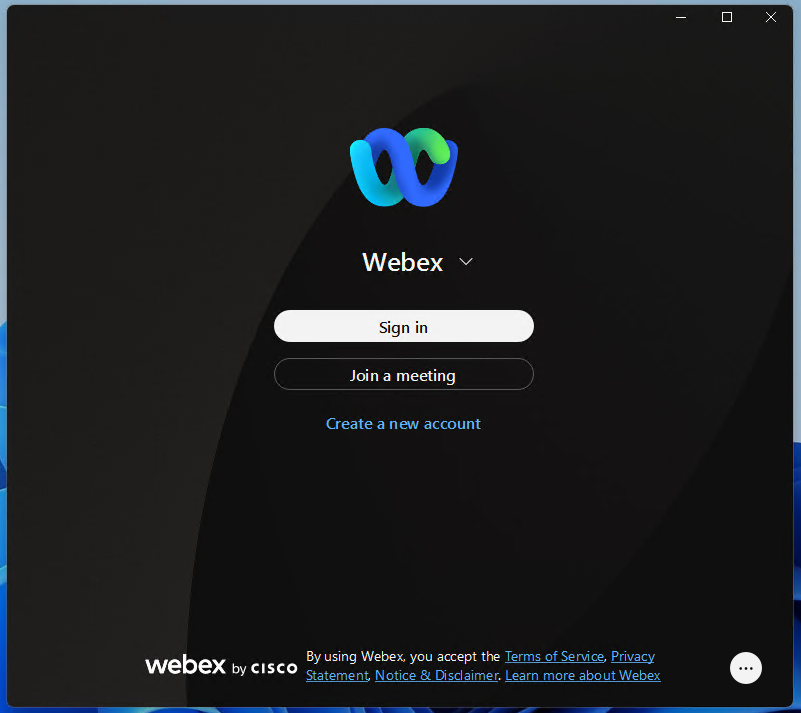
Step Two: Login
When the app is installed the next screen will be the login screen. Click on "Sign In"
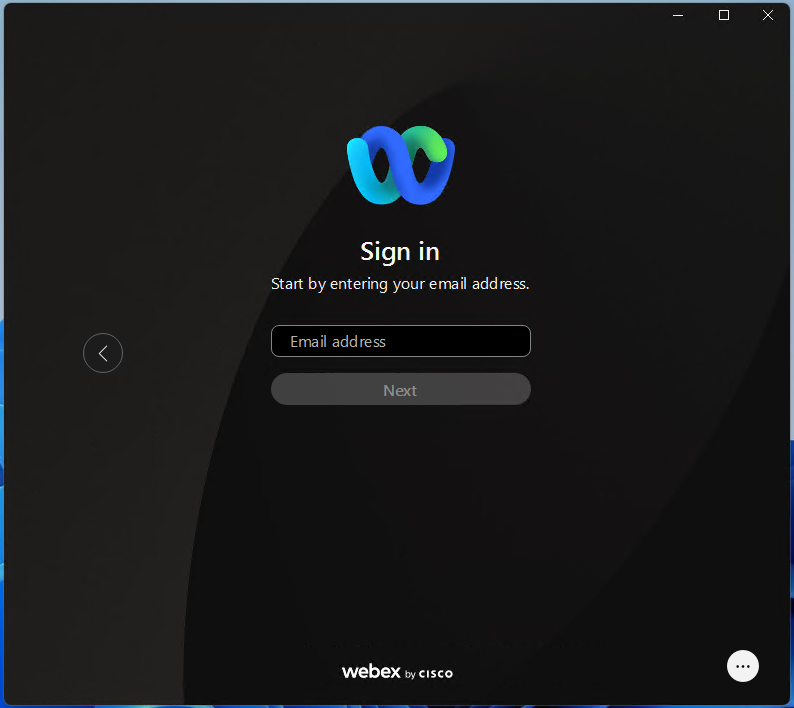
On the next screen enter your Webex login name, then click "Next"
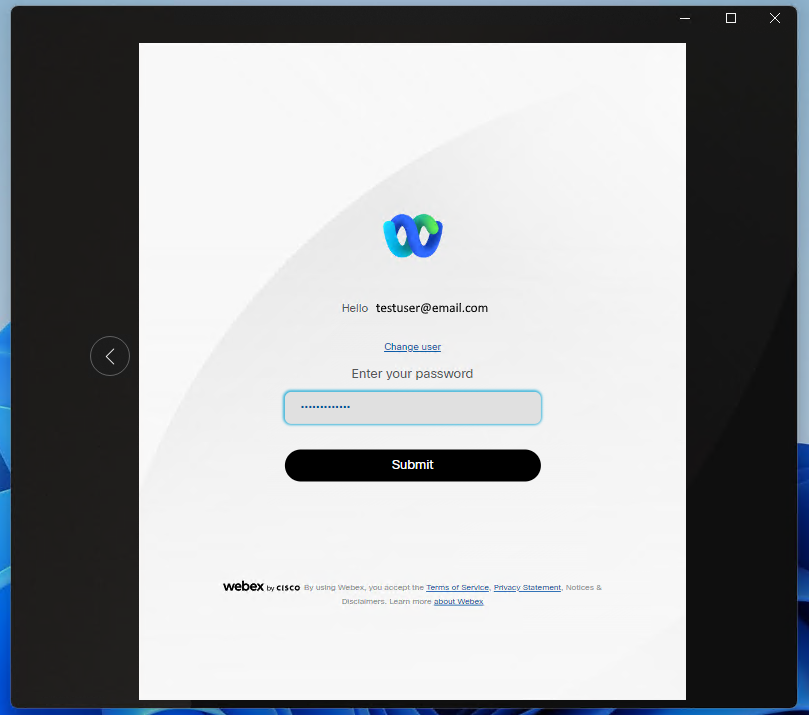
Next enter your password and click "Submit"
Note: If you are unsure of your login credentials please contact your administrator or support desk to confirm. If you have received a welcome email from Uboss then you will find your login details in the section "Your Username and Password"

If you do not know your password, then please ask your administrator to reset the password or if you have the welcome note, click on "Reset Password" in the "Your Username and Password" section.
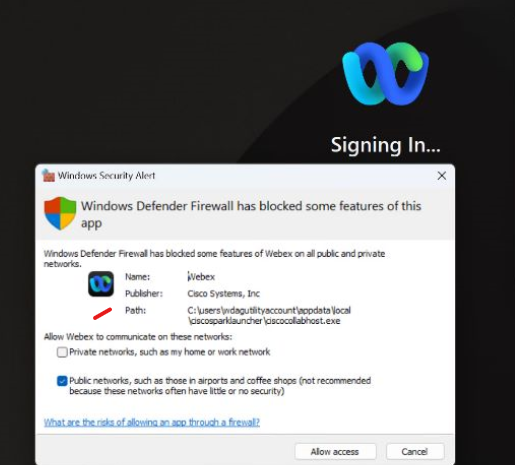
After you have logged in, depending on your Windows configuration, you may be prompted by the following Windows Defender prompt. You must click "Allow Access", please note this may require Administrator privileges.
Step Three: Icon Definitions
Note : -Some icons are license dependant.
| Icon | Definition |
|---|---|
 |
Status and Preferences |
 |
Messaging |
 |
Teams |
 |
Contacts |
 |
Calling |
 |
Meetings |
 |
App Hub |
 |
Help |
Step Four: Main Webex features
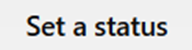
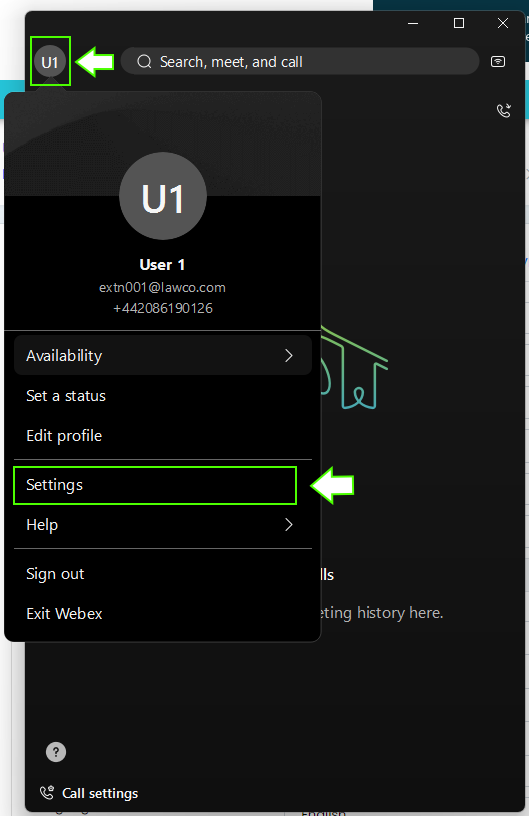
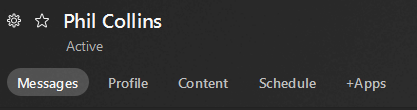
Status and Preferences
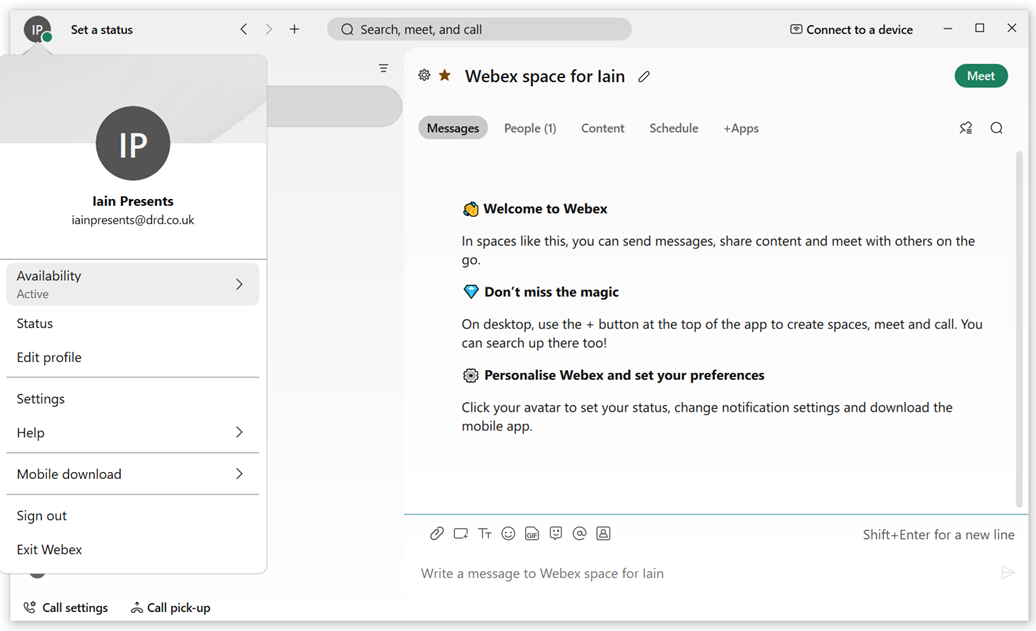
By clicking on your icon in the top left-hand corner, you’ll see a menu with different options to manage the app.
Most are self-explanatory; please see the main points.
Select ‘Edit profile’ and you’ll see your telephone number, and be able to edit your details.
You can even add a photo.
Select ‘Settings’, and the setting menu appears. From here you can see and amend the settings for all of the features on the app.
Selecting ‘Sign Out’ will mean the next time you log in you’ll need your email address, username and password. So it might be best to select ‘Exit’ if you wish to switch off the app, as then this information is remembered.
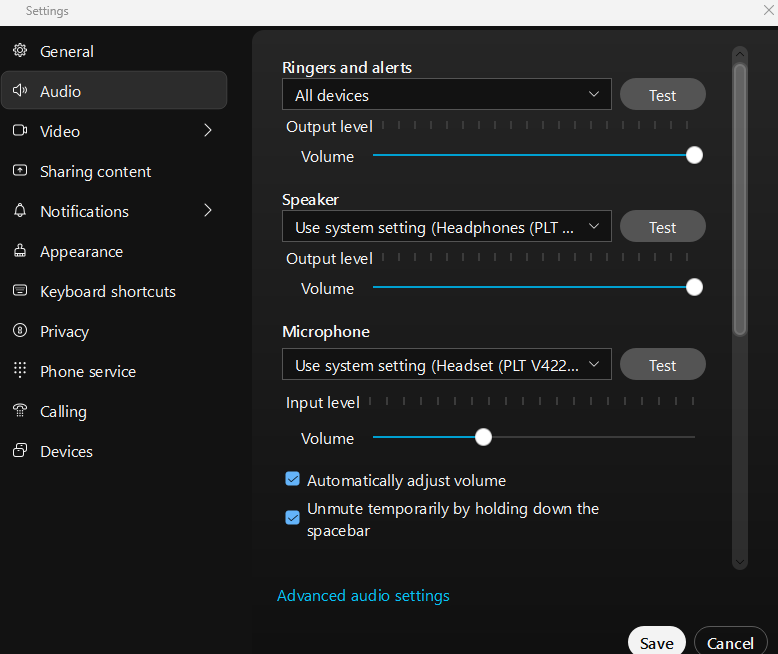
Setting up the audio device
Once logged in, the first thing to do is to double check what audio device is selected for calling. To do this click on the avatar on the top left of the app, then click on settings
Select Audio on the left and then there are 3 options:
Ringers and Alerts - This is the device that will play the ringing sound and alerts for incoming callsSpeaker - this is the device that the inbound auido of the call will play throughMicrophone - this is the device that will send your speech
When you have selected the devices press "Save"
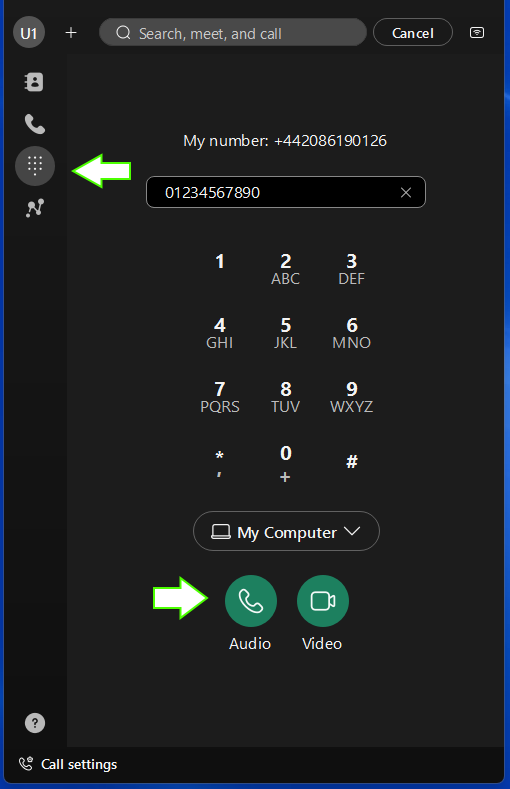
Making a call
You are now ready to start making calls. To start a call click on the dial pad icon on the left menu and then type in the number. To start the call either press the "return" key or click on the audio button
When the call is in progress you will have some controls at the bottom of the new call window
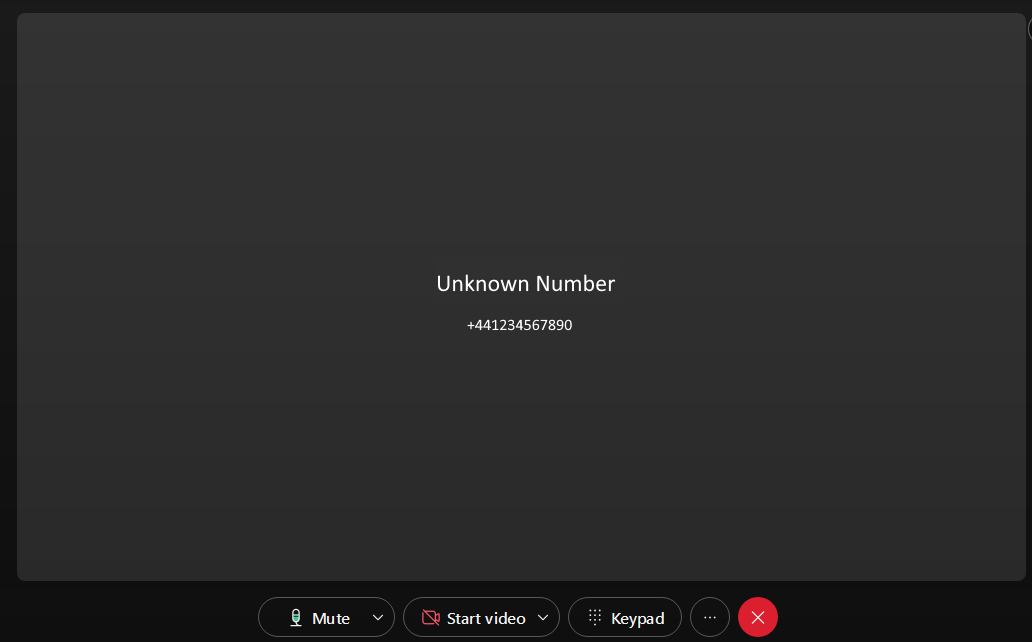
- Mute - this will mute your outgoing audio
- Start Video - if you are ringing another party on the same platform and you have a video camera you can initiate a video call
- Keypad - this will bring up the keypad so you can send DTMF tones if you need to
- Ellipses - this will show the following further call options
* Hold - this will place the remote party on hold
* Transfer - allows you to transfer the call to another party
* Conference - add another user or users(license dependant) to the call
* Statistics - this option provides information about your call for support purposes - "X" - this will end the call in progress
Contacts
Just search for your contact via name, telephone number or email address in the Search in the tollbar at the top of the screen.
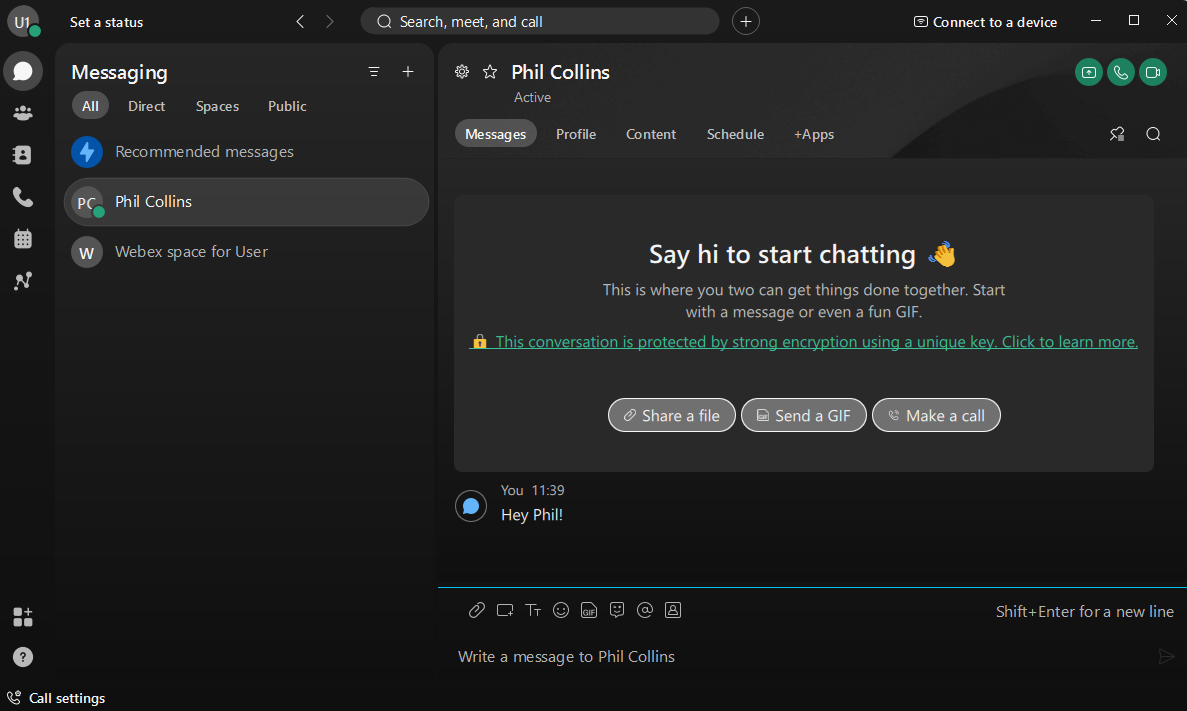
Messaging
If you have the Webex Spaces package you can search for your contacts to message on the main search bar at the top of the Webex application. For internal contacts you can use name, phone number or email address to search. For external Webex users, you’ll need to search for their email address.

You can also select the message icon, select a person, from ‘People’ or space from ‘Spaces’. Click on the message area and type your message and press send.
The icons below indicate the messaging features available in the message window. From sending attachments, screen capturing, format text, adding emojis/symbols, GIFs and inviting to personal rooms.
In your messaging chat below, you can also view the profile of your contact, under the content section send files, create whiteboards, share links/add website shortcuts and finally schedule a meeting.
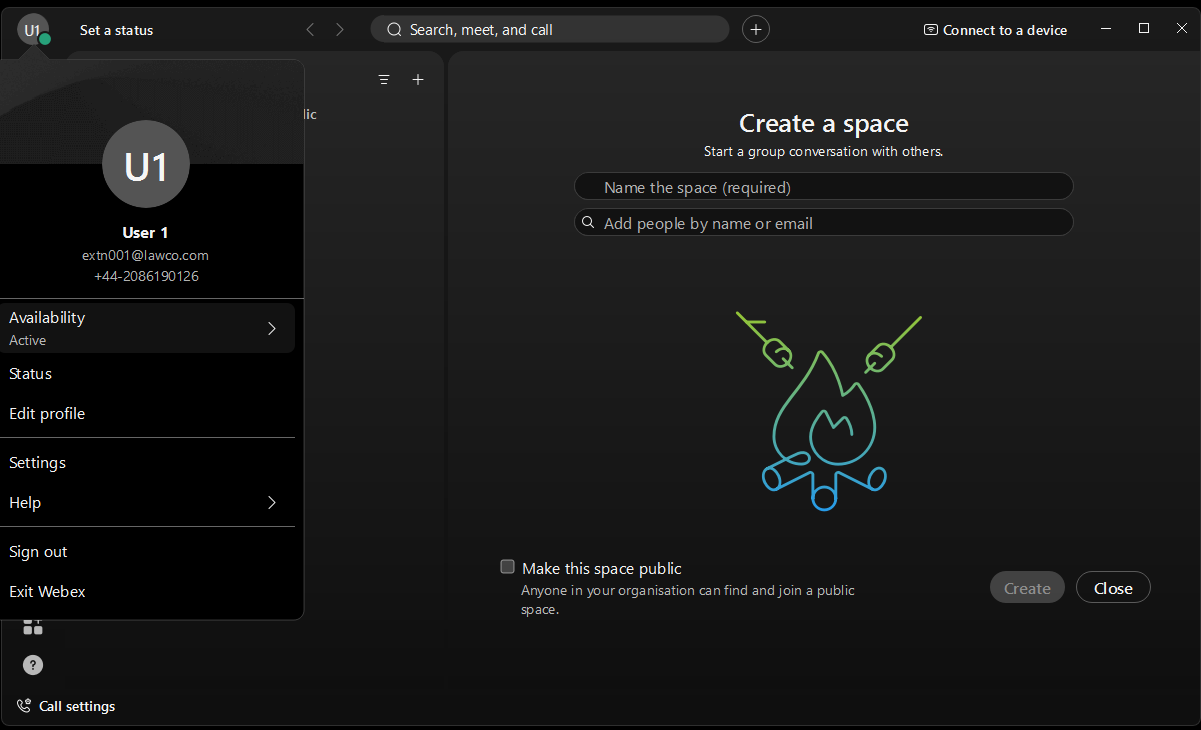
Spaces
In Webex, when you send a message to a group for the first time, you create a space for the group to talk. Spaces work best for a group of people collaborating on a specific topic or project. You can send messages, make calls, have audio & video meetings with up to 100 people, share files, and use whiteboards. The next time you message the group, your conversation picks right up where you’ve left it.
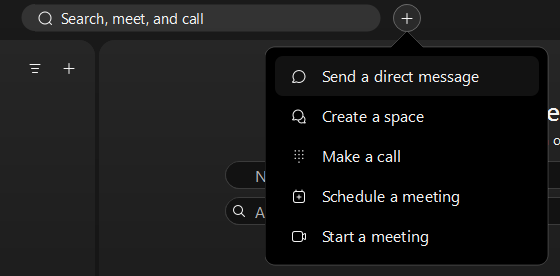
In the app header, click the + then choose "Create a Space"
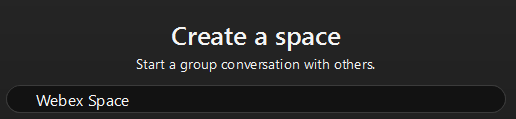
Enter a name for your space. As you enter the name for your space
Enter the email address or name for each person you want in the space. As you enter email addresses, this also filters the list of similar spaces with the space name.
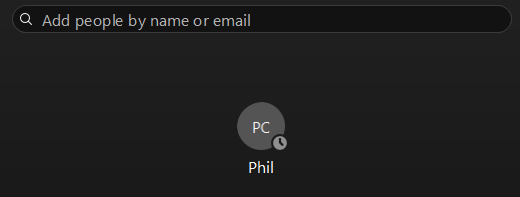
Click ‘Create’.
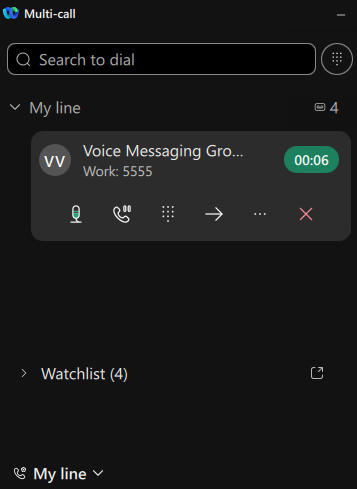
Multi-Call Window
If you prefer to have a smaller in-call window, you can enable the multi-call window for an experience that reduces the desktop real estate used by Webex.
To enable click on your avatar on the top left then go to "settings"
Now expand the "Calling Menu" on the left, and underneath is an option for "Multi-call window", click on this option.
Next Click on "Turn On a multi-call window", and any other relevant options that might be of use. Next click on Save

The multi-window will then allow you to search or dial contacts or number, once on a call you will see you have the call control options as well.
This is the end of the Webex Install and Quick Start Guide.